Making a graduation cake at home is a heartfelt way to celebrate the achievements of your loved ones. Whether you’re hosting a graduation party or looking for a personal touch to mark the occasion, this step-by-step guide will help you create a delicious and stunning graduation cake, even if you’re a beginner in the kitchen.

Why Make a Graduation Cake at Home?
There are plenty of reasons to bake a graduation cake at home:
- Personalization: You can customize the cake to suit the graduate’s personality, favorite colors, and achievements.
- Cost-Effective: Making your cake saves money while delivering a thoughtful touch.
- Fun and Creative: Decorating the cake can be a fun activity to involve family and friends.
Ingredients You’ll Need For the Perfect Graduation Cake

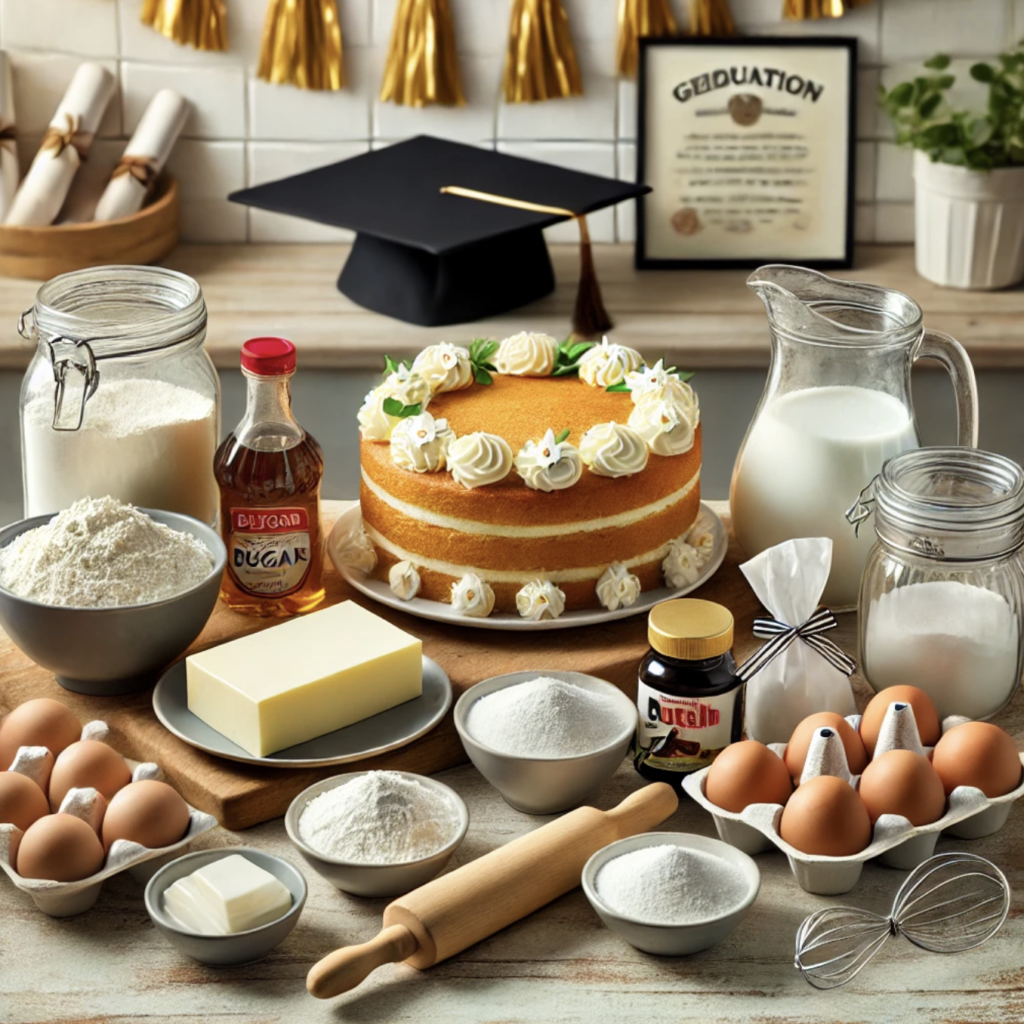
For the Cake:
- 2 ¾ cups all-purpose flour
- 2 ½ tsp baking powder
- ½ tsp salt
- 1 cup unsalted butter (softened)
- 2 cups granulated sugar
- 4 large eggs
- 1 tsp vanilla extract
- 1 cup whole milk
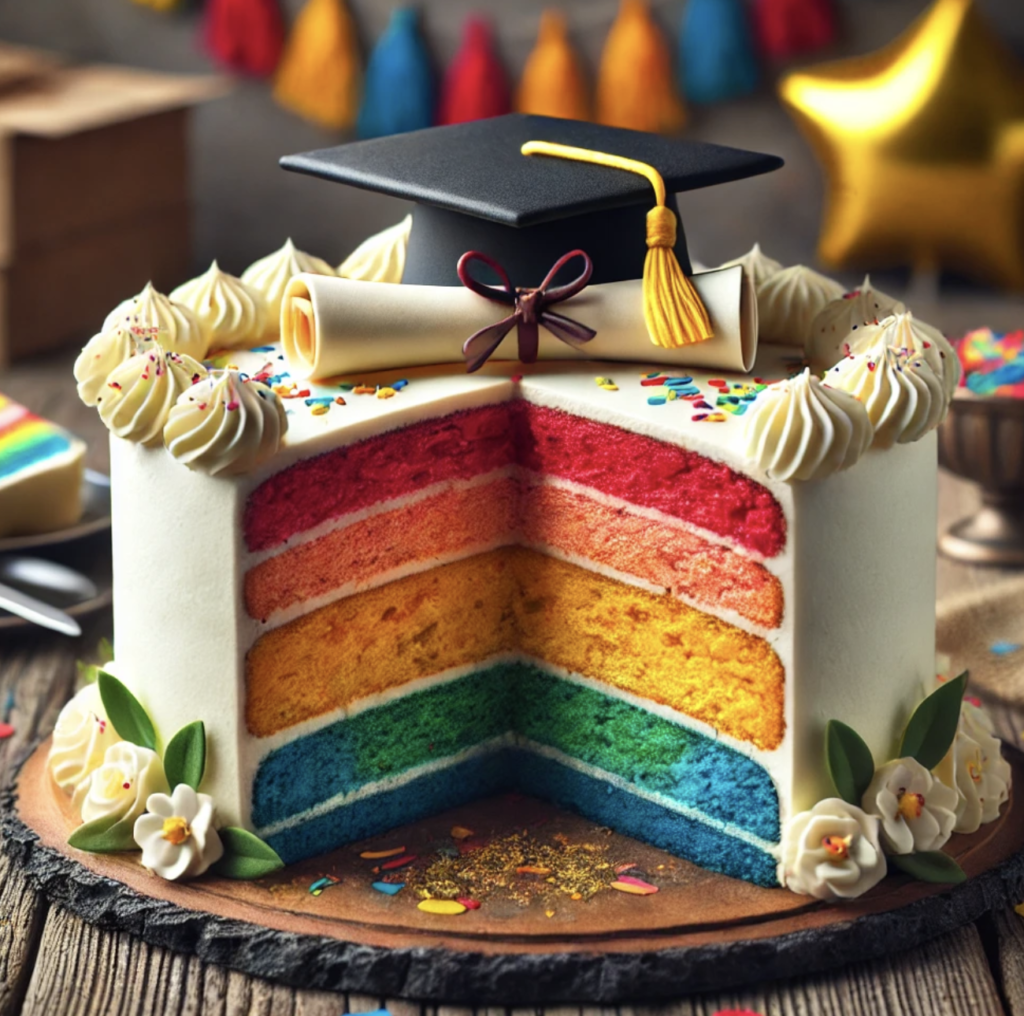
- Food coloring (optional, for school colors)
The Frosting:
- 1 cup unsalted butter (softened)
- 4 cups powdered sugar
- 2 tsp vanilla extract
- 2-3 tbsp milk
Decorations:
- Fondant or modeling chocolate (optional)
- Graduation-themed toppers (caps, diplomas, etc.)
- Piping bags and tips
- Sprinkles, edible glitter, or lettering tools
Step-by-Step Instructions for a Graduation Cake
Step 1: Preheat Your Oven
Preheat your oven to 350°F (175°C). Grease and flour your cake pans or line them with parchment paper for easy removal.
Step 2: Mix the Dry Ingredients
In a medium bowl, whisk together the flour, baking powder, and salt. This helps ensure even baking.
Step 3: Cream Butter and Sugar
In a large mixing bowl, use an electric mixer to cream the butter and sugar until light and fluffy. This takes about 3-5 minutes.
Step 4: Add Eggs and Vanilla
Add the eggs one at a time, mixing well after each addition. Stir in the vanilla extract for a rich flavor.
Step 5: Combine Wet and Dry Ingredients
Gradually add the dry ingredients to the butter mixture, alternating with the milk. Start and end with the dry ingredients, mixing until just combined.
Step 6: Add Food Coloring (Optional)
Divide the batter if you want to use multiple colors. Add food coloring to match school colors or create a gradient effect.
Step 7: Bake the Cake
Pour the batter into the prepared pans and bake for 25-30 minutes, or until a toothpick inserted into the center comes out clean. Let the cakes cool completely before decorating.
Step 8: Prepare the Frosting
In a bowl, beat the butter until smooth. Gradually add powdered sugar, then mix in the vanilla extract and milk until the frosting reaches a spreadable consistency.
Step 9: Assemble the Cake
Place one cake layer on a serving plate. Spread a layer of frosting on top, then stack the second layer. Apply a crumb coat (a thin layer of frosting) and chill for 20 minutes. Add the final frosting layer for a smooth finish.
Step 10: Decorate
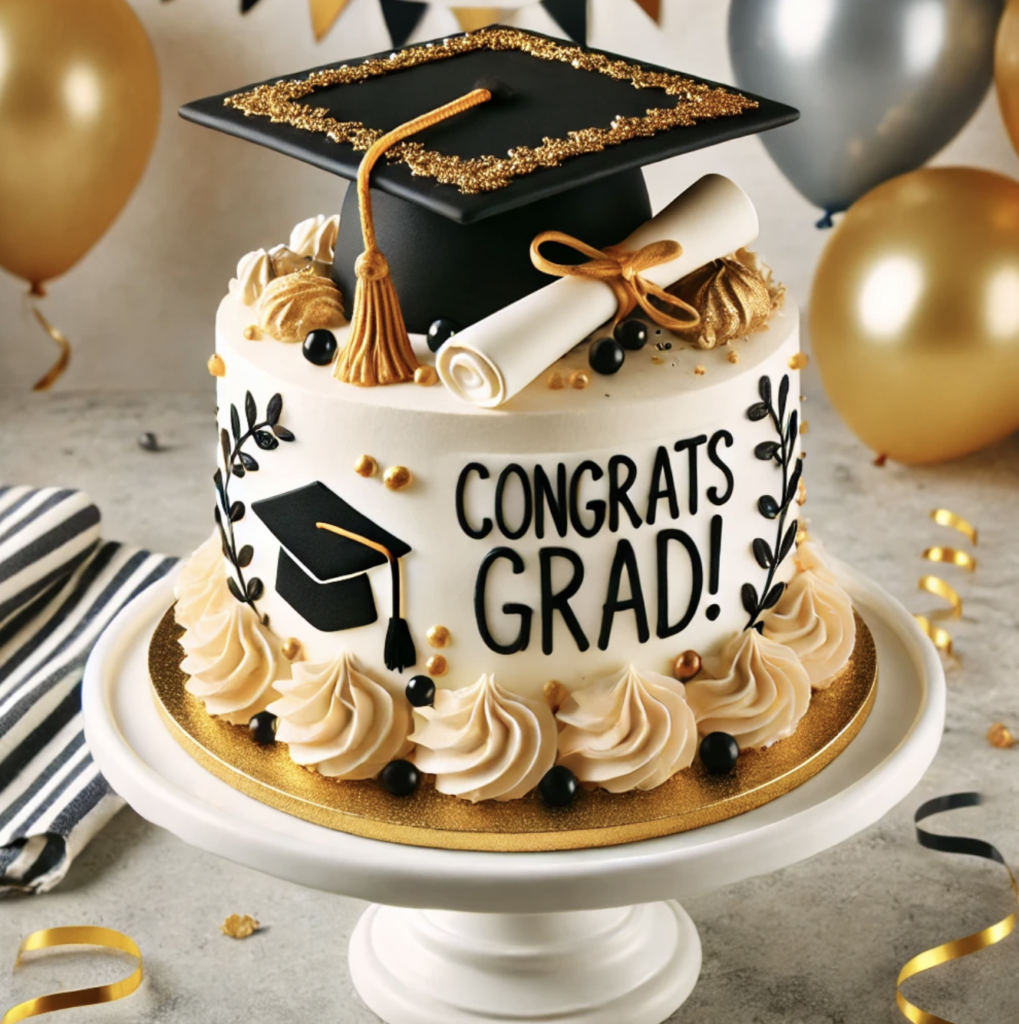
Use piping bags for intricate designs, write a congratulatory message, or add fondant toppers like a graduation cap or diploma. Sprinkles or edible glitter can enhance the celebratory vibe.
Creative Decoration Ideas
- School Colors: Incorporate school colors in the frosting or decorations.
- Cap and Diploma: Shape fondant into a graduation cap and diploma for an authentic touch.
- Photo Cake: Use edible photo paper to add a picture of the graduate.
- Tiered Cake: Create a multi-layered cake for larger gatherings.
Tips for Success
- Cool Completely: Make sure the cakes are completely cool before frosting to prevent melting.
- Practice Piping: Test your piping skills on parchment paper before decorating.
- Use Gel Food Coloring: Gel-based colors are vibrant and won’t affect the consistency of the batter or frosting.
- Chill the Cake: Chill the cake between steps to make decorating easier.

FAQs
1. Can I use a box cake mix?
Yes! If you’re short on time, a box mix works perfectly. Just follow the package instructions and focus on customizing the decorations.
2. How can I make the cake ahead of time?
You can bake the cake layers a day or two in advance. Store them in an airtight container at room temperature. Frost and decorate the day of the event.
3. What if I don’t have piping tools?
Use a plastic bag with a small hole cut in the corner as a makeshift piping bag.
4. Can I make it dairy-free?
Yes! Substitute the butter with a dairy-free alternative and use almond or oat milk instead of whole milk.
5. How many people does this cake serve?
This recipe serves about 12-16 people, depending on slice size.
Final Thoughts
Making a graduation cake at home is a rewarding and personal way to celebrate a milestone achievement. With this guide, even beginners can create a cake that’s as special as the graduate. Gather your ingredients, get creative, and let your cake be the highlight of the celebration!
