 🔥 Trending
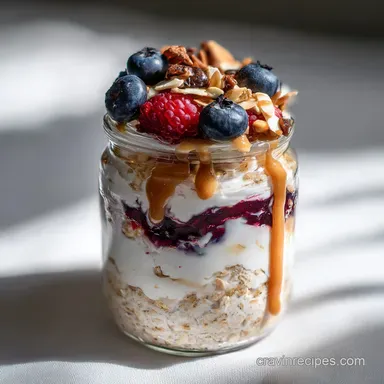
Overnight Oats with Yogurt: Velvety and Plump
Create the ultimate Overnight Oats with Yogurt using Greek yogurt for a protein boost. This recipe f...
Hunger striking? Discover 500+ tested recipes—from easy weeknight dinners to sweet treats. Triple-tested comfort food. Start cooking now!
Master no bake peanut butter energy balls with our foolproof recipe requiring zero oven time. Includes a common mistakes checklist and exact serving size calculator. Perfect for quick snacks.
View Recipe 🔥 Trending
Create the ultimate Overnight Oats with Yogurt using Greek yogurt for a protein boost. This recipe f...
 🔥 Trending
Master soft and chewy chocolate chip cookies with this easy recipe. Features a quick 25-minute total...
 🔥 Trending
Master no bake peanut butter energy balls with our foolproof recipe requiring zero oven time. Includ...
 🔥 Trending
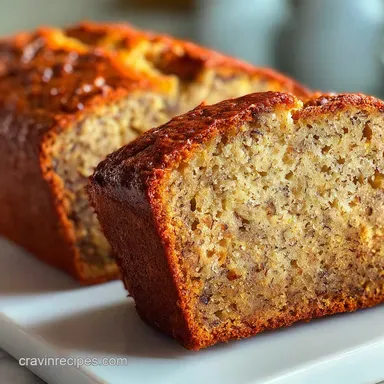
Discover the best moist banana bread recipe, perfect for a gooey, buttery crumb. Includes oil and so...
 🔥 Trending
Discover the best fudgy brownies from scratch using a zero-leavener method for a dense, gooey center...
 🔥 Trending
Master creamy garlic parmesan chicken pasta with our step-by-step guide. Includes exact temp chart a...

Solve the "what's for dinner" dilemma with our easy, family-friendly meals. Discover creamy pastas,…

Satisfy your sweet tooth with our tested dessert recipes. Bake the perfect chocolate chip cookies,…

Start your day right with our best breakfast recipes! From fluffy pancakes to healthy overnight…

Beat the hunger pangs with our crave-worthy snack recipes. Explore quick bites, party appetizers,…

Master no bake peanut butter energy balls with our foolproof recipe requiring zero oven time. Includes a common mistakes…

Create the ultimate Overnight Oats with Yogurt using Greek yogurt for a protein boost. This recipe features a step-by-step timing…

Master creamy garlic parmesan chicken pasta with our step-by-step guide. Includes exact temp chart and common mistakes checklist.…

Master Sheet Pan Chicken Fajitas with our oven-only roasting technique. Includes exact internal temp chart and common mistakes…
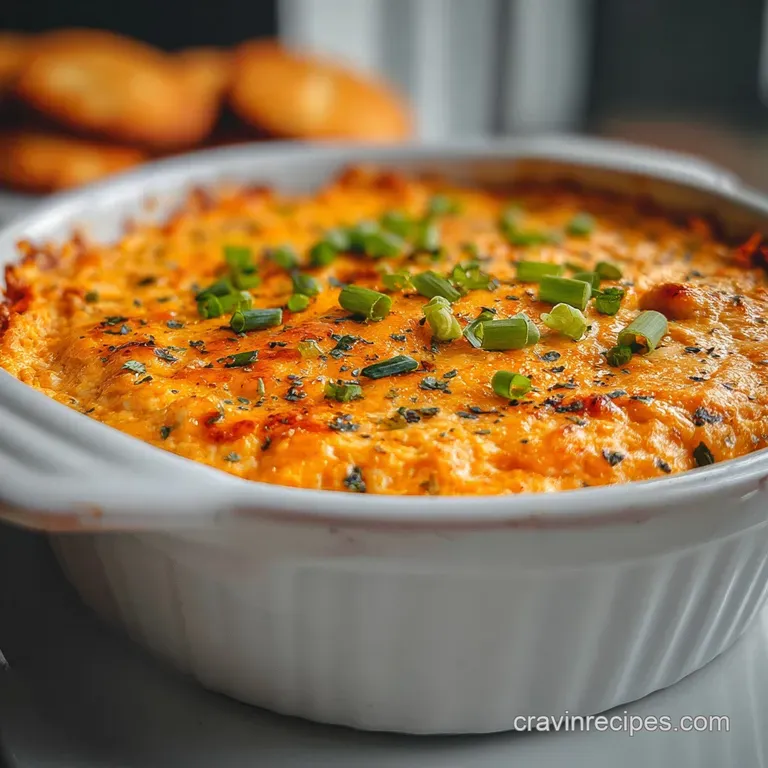
Master easy buffalo chicken dip recipe using rotisserie chicken. Includes a common mistakes checklist and preparation guide.…

Master easy fluffy pancakes from scratch with our step-by-step guide. Learn how to make fluffy pancakes from scratch without…
Welcome to Cravin' Recipes, where we believe that the best food is the kind that makes you close your eyes and smile. We aren't about tiny portions or complicated techniques that require a culinary degree. We are about satisfying real hunger with real food.
Whether you're looking for simple homemade comfort food recipes that remind you of grandma's kitchen or modern twists on classic favorites, you've come to the right place.
Our philosophy is simple: if it doesn't taste amazing, it doesn't belong here. Every recipe on our site has been triple-tested by our diverse team of home cooks—Amara, Lucas, Grace, and Leo. We chop, stir, bake, and taste (a lot!) to ensure that when you step into the kitchen, you succeed.
They say breakfast is the most important meal of the day, but we think it should also be the most delicious. If you are tired of the same old cereal, explore our collection of quick and delicious breakfast ideas designed to get you out of bed.
The eternal question: "What's for dinner?" We have the answer. We specialize in easy weeknight dinner ideas for family time that won't leave you with a sink full of dishes. From Amara's soul-warming casseroles to one-pan wonders, we make dinner the best part of your day.
Sometimes, you just need a treat. Whether it's 3 PM at the office or a late-night movie marathon, our snack section is packed with the best sweet snacks for cravings and savory bites that hit the spot.
Life is short—eat the cake. Our dessert category, led by our baking expert Grace, features foolproof recipes for cookies, brownies, cakes, and no-bake treats. We break down the science of baking into simple steps so you get bakery-quality results at home.
So, tie on your apron and preheat that oven. At Cravin' Recipes, we are here to help you make every meal a victory. Let's get cooking!