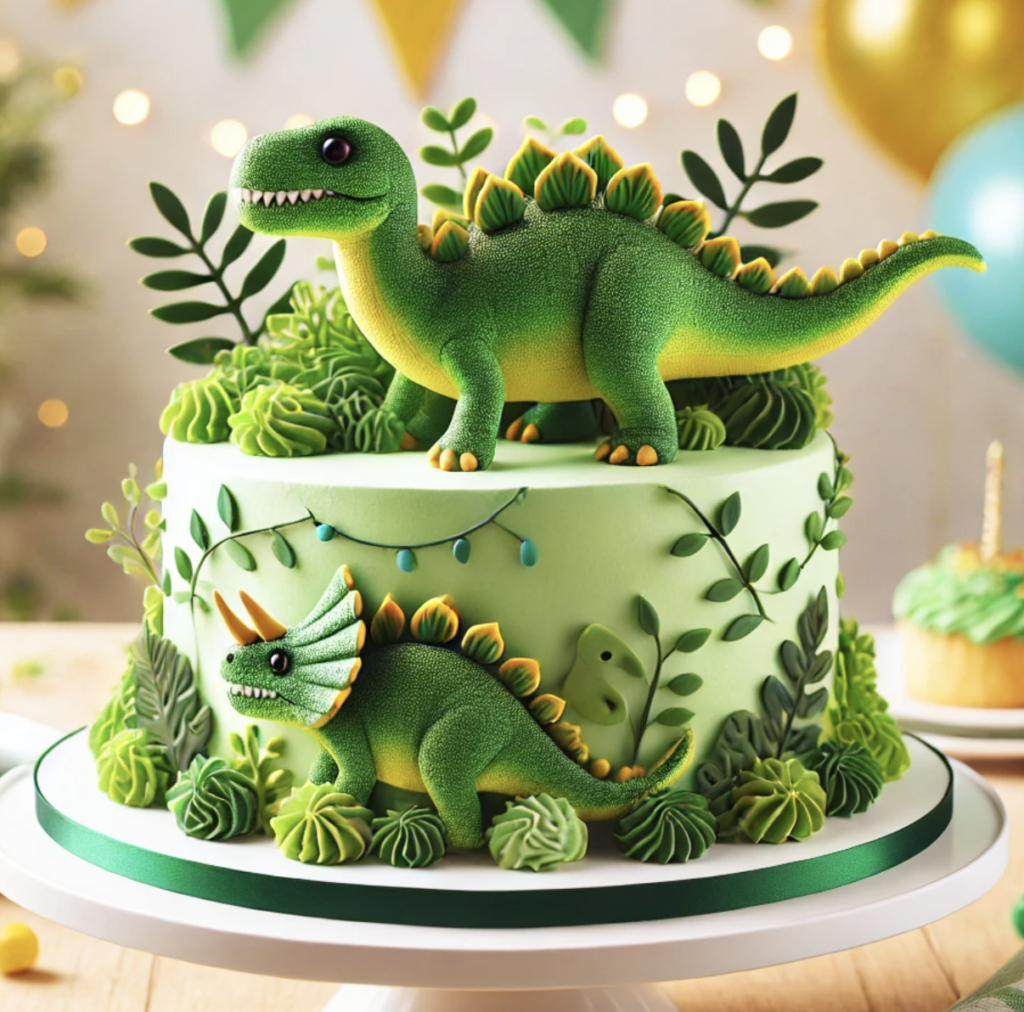
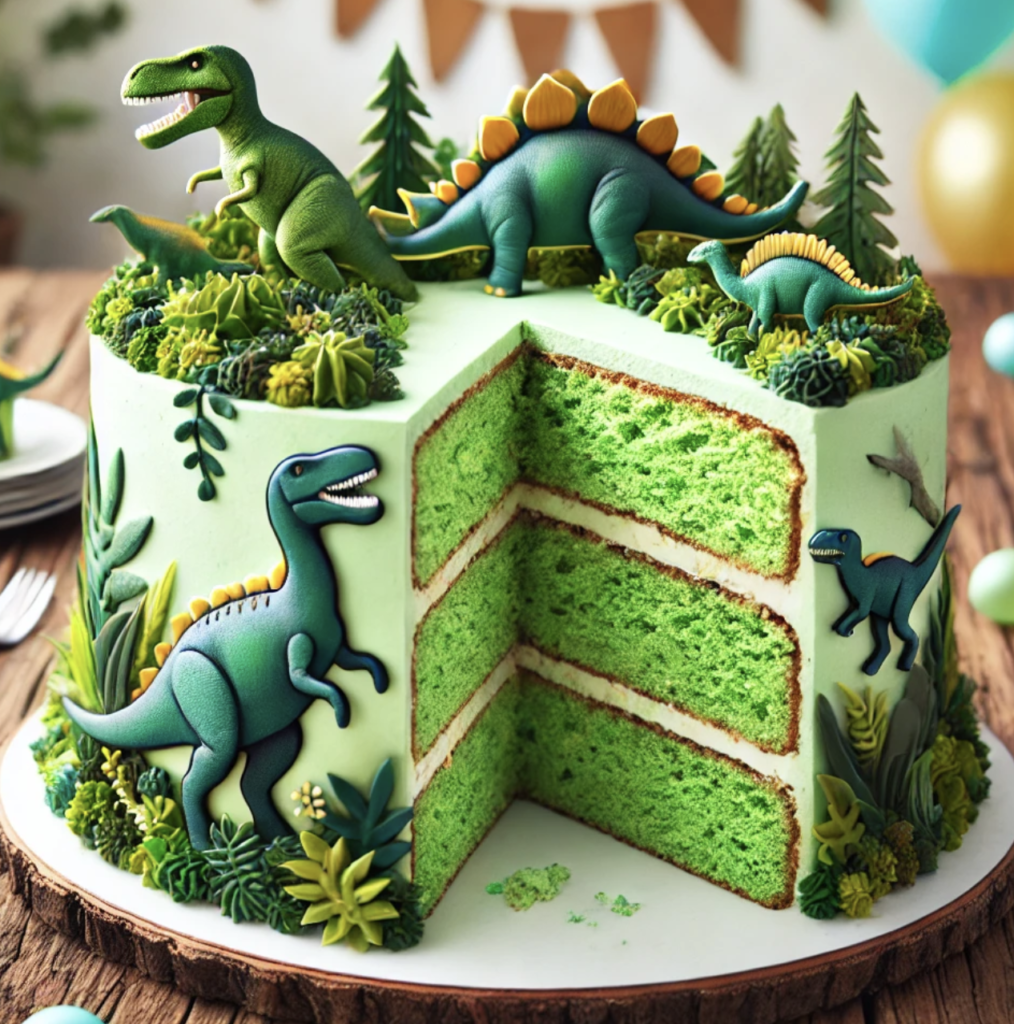
Making a dinosaur cake at home is a fun and creative way to surprise your loved ones, especially if they are fans of dinosaurs. Whether it’s for a child’s birthday party or simply a themed celebration, this guide will walk you through the process of crafting a dinosaur cake that looks amazing and tastes even better. Even if you’re new to baking, you’ll find this tutorial simple and enjoyable.

Why Choose a Dinosaur Cake?
A dinosaur cake is more than just dessert; it’s a centerpiece for your party. With its playful design and vibrant colors, it’s sure to be a crowd-pleaser. Plus, making it at home lets you customize the flavors, colors, and decorations to fit your theme perfectly.
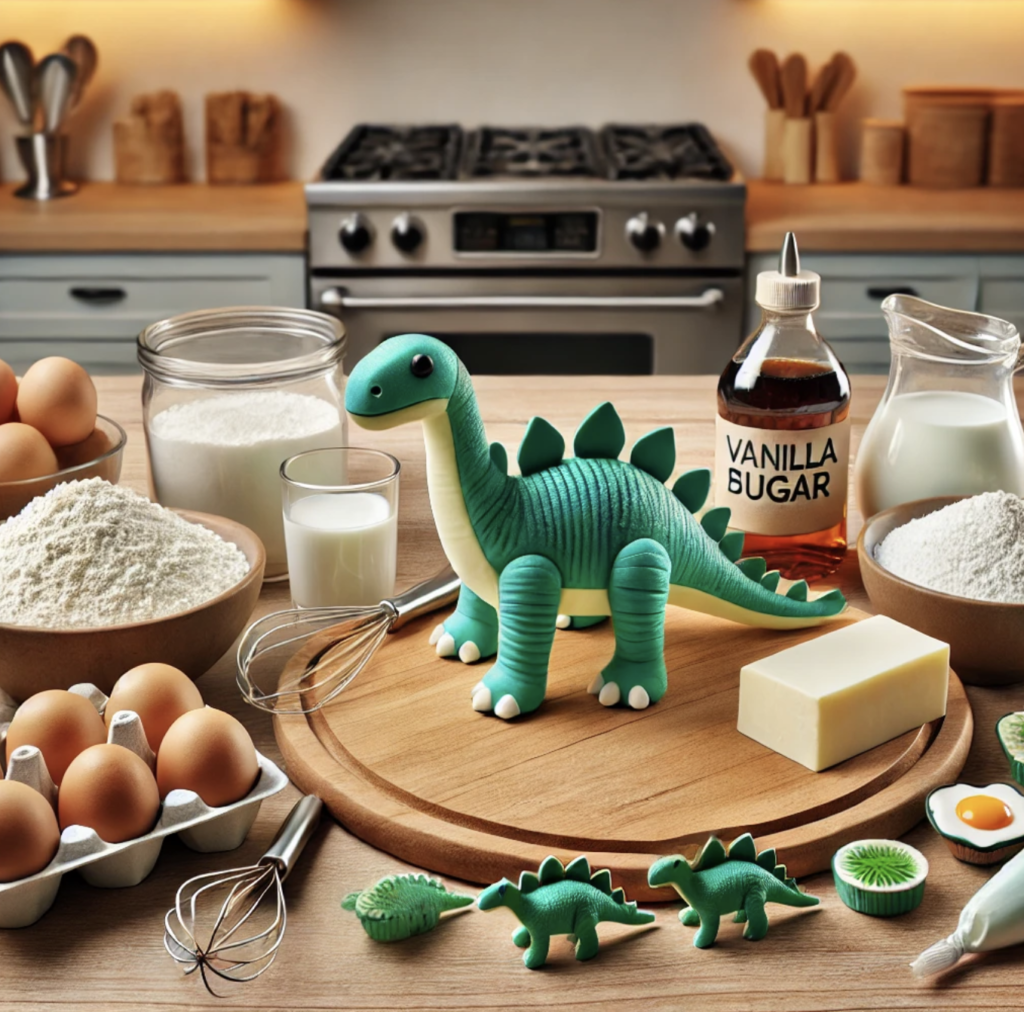
Ingredients You’ll Need For the Perfect Dinosaur Cake

For the Cake:
- 2 ¾ cups all-purpose flour
- 2 ½ tsp baking powder
- ½ tsp salt
- 1 cup unsalted butter (softened)
- 2 cups granulated sugar
- 4 large eggs
- 1 tsp vanilla extract
- 1 cup whole milk
- Green food coloring (or your preferred dinosaur color)
The Frosting:
- 1 cup unsalted butter (softened)
- 4 cups powdered sugar
- 2 tsp vanilla extract
- 2-3 tbsp milk
- Green food coloring
- Additional colors for details (e.g., black, white, red)
Decorations:
- Fondant or modeling chocolate (optional)
- Piping bags and tips
- Edible eyes or candy for details
- Dinosaur-shaped cake toppers (optional)
Step-by-Step Instructions for a Dinosaur Cake
Step 1: Preheat Your Oven
Preheat your oven to 350°F (175°C). Grease and flour two 8-inch round cake pans or use parchment paper for easy removal.
Step 2: Prepare the Dry Ingredients
In a medium bowl, whisk together the flour, baking powder, and salt. This step ensures your cake will rise evenly.
Step 3: Cream Butter and Sugar
In a large mixing bowl, use an electric mixer to cream the butter and sugar until light and fluffy. This process takes about 3-5 minutes.
Step 4: Add Eggs and Vanilla
Beat in the eggs one at a time, making sure each is fully incorporated before adding the next. Stir in the vanilla extract.
Step 5: Combine Dry and Wet Ingredients
Gradually add the dry ingredients to the wet mixture, alternating with the milk. Begin and end with the dry ingredients, mixing just until combined.
Step 6: Add Food Coloring
Divide the batter into portions if you want multiple colors or add green food coloring to the entire mixture. Mix until the color is evenly distributed.
Step 7: Bake the Cake
Pour the batter into the prepared pans and bake for 25-30 minutes or until a toothpick inserted into the center comes out clean. Let the cakes cool completely before decorating.
Step 8: Prepare the Frosting
Beat the softened butter until smooth. Gradually add powdered sugar, vanilla extract, and milk. Mix until the frosting is light and fluffy. Add green food coloring and stir until evenly colored.
Step 9: Carve and Shape the Cake
If you’re creating a specific dinosaur shape, use a serrated knife to carve the cooled cake layers. Stack the layers with frosting in between to create depth.
Step 10: Frost and Decorate
Apply a crumb coat (a thin layer of frosting) to seal in crumbs. Chill for 20 minutes, then apply the final layer of frosting. Use piping bags for details like scales, spots, or spikes. Add fondant decorations or candy eyes for extra flair.
Step 11: Add Final Touches
Place the cake on a serving board or cake stand. Arrange dinosaur figurines, edible foliage, or themed decorations around the base for added effect.
Tips for Success
- Chill the Cake Before Carving: Cold cakes are easier to shape without crumbling.
- Use Gel Food Coloring: Gel-based colors are more vibrant and won’t alter the frosting’s consistency.
- Practice Piping: Before decorating the cake, practice on parchment paper to perfect your technique.
- Keep It Simple: If carving feels intimidating, use a dinosaur-shaped cake pan.
Creative Variations
- Volcano Dinosaur Cake: Add a small fondant volcano on the cake for an adventurous theme.
- 3D Dinosaur Cake: Use stacked layers to create a 3D design for a wow factor.
- Cupcake Dinosaur Cake: Arrange cupcakes into the shape of a dinosaur for an easy alternative.

FAQs
1. Can I use a box cake mix?
Absolutely! A box mix can save time and still produce a delicious cake. Customize it with food coloring and decorations.
2. How far in advance can I make the cake?
You can bake the cake layers up to 2 days in advance. Store them in an airtight container at room temperature. Decorate the day of the event for freshness.
3. What if I’m not good at carving shapes?
Use a dinosaur-shaped pan or cookie cutter to simplify the process.
4. Can I make it dairy-free?
Yes, substitute the butter with a dairy-free alternative and use almond milk or oat milk instead of whole milk.
5. How many people does this cake serve?
This recipe serves 12-16 people, depending on slice size.
Final Thoughts
Making a dinosaur cake at home is a delightful way to bring creativity and fun to your celebration. With this guide, you’ll find that crafting a show-stopping cake is easier than you think. So grab your ingredients, roll up your sleeves, and get ready to impress your friends and family with your baking skills!
