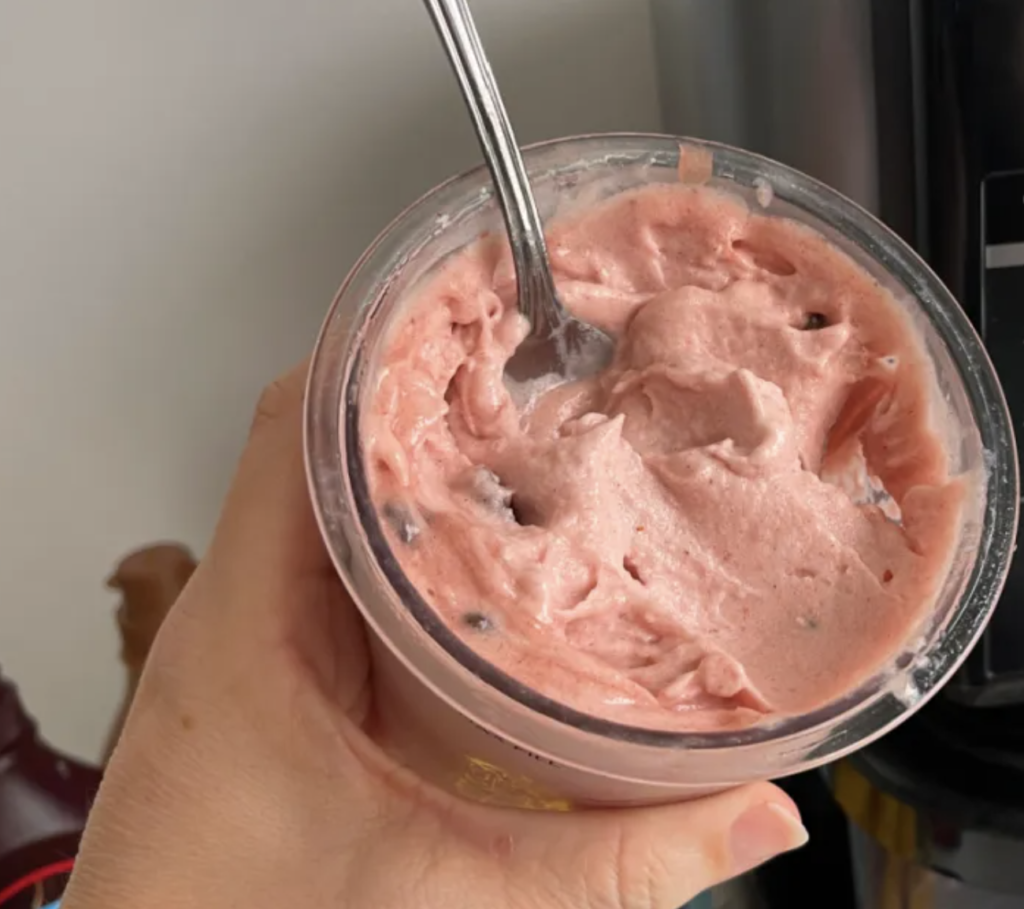
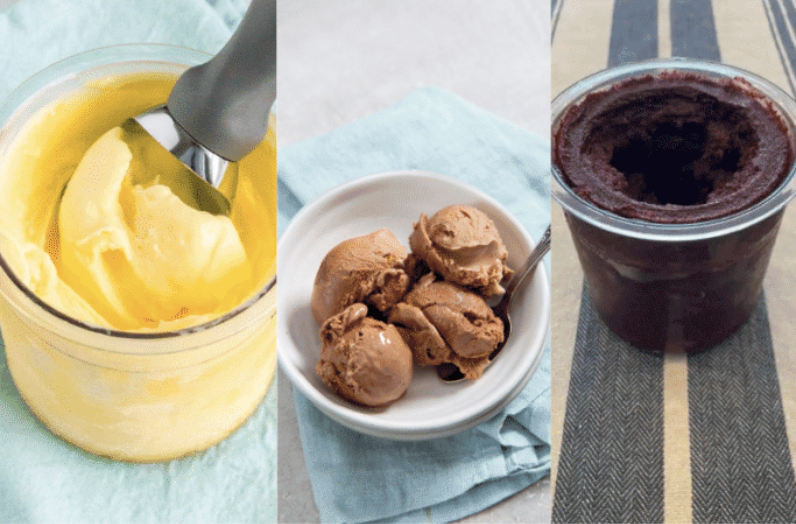
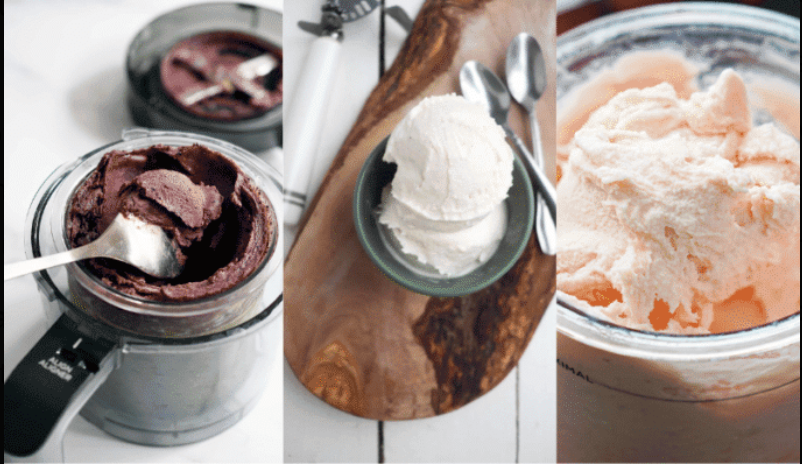
If you’ve recently discovered the Ninja Creami, you’re in for a treat—literally! This versatile kitchen gadget has revolutionized the way we make ice cream, sorbet, milkshakes, and even healthy frozen snacks. Whether you’re a beginner or a seasoned dessert enthusiast, this Ninja Creami recipe will show you how to create creamy, flavorful delights in no time. From choosing the right ingredients to mastering the technique, we’ll guide you through every step.

Why the Ninja Creami?
The Ninja Creami is a game-changer for dessert lovers. Here’s why:
- Ease of Use: Perfect for beginners—just prep, freeze, and spin!
- Customizable Recipes: Tailor flavors, mix-ins, and textures to your liking.
- Healthier Options: Use natural ingredients for low-sugar or dairy-free treats.
- Versatility: Create ice cream, gelato, sorbet, milkshakes, and more.
Key Ingredients for the Perfect Ninja Creami Recipe
To create a classic creamy treat, you’ll need:
- Milk or Cream: Whole milk, heavy cream, or non-dairy options like coconut or almond milk.
- Sweetener: Granulated sugar, honey, maple syrup, or a sugar substitute.
- Flavor Base: Vanilla extract, cocoa powder, or fruit purees.
- Optional Add-Ins: Chocolate chips, nuts, sprinkles, or cookie crumbles.

Step-by-Step Ninja Creami Recipe: Vanilla Ice Cream
Ingredients:
- 1 cup whole milk
- 1 cup heavy cream
- 1/2 cup granulated sugar
- 1 teaspoon vanilla extract
- A pinch of salt
Step 1: Mix the Base
In a medium bowl, whisk together the milk, heavy cream, sugar, vanilla extract, and salt until the sugar is fully dissolved. This ensures a smooth, creamy texture.
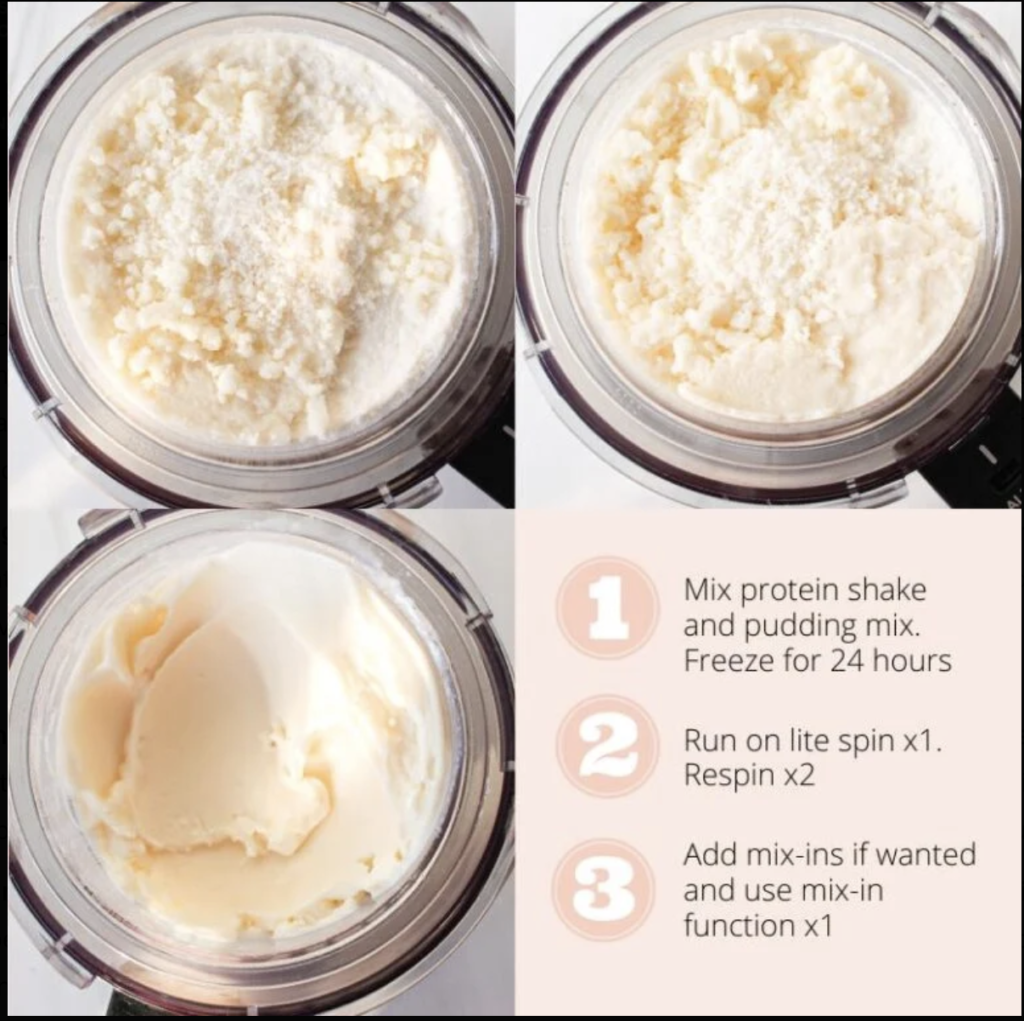
Step 2: Freeze the Mixture
Pour the mixture into a Ninja Creami pint container. Place the lid securely and freeze for 24 hours. The mixture needs to be fully frozen to achieve the best results.
Step 3: Process in the Ninja Creami
Remove the frozen pint from the freezer and attach it to the Ninja Creami base. Select the « Ice Cream » setting and let the machine work its magic. In about 2-3 minutes, you’ll have creamy, delicious ice cream!
Step 4: Customize Your Treat
If you’d like to add mix-ins, use the « Mix-Ins » setting. Add chocolate chips, crushed cookies, or fresh fruit to the ice cream and let the machine incorporate them evenly.
Step 5: Serve and Enjoy
Scoop the ice cream into bowls or cones, and enjoy your homemade dessert. Store any leftovers in the freezer with a lid to keep it fresh.

Tips for Ninja Creami Success
- Use Fresh Ingredients: Fresh milk, cream, and natural flavors enhance the taste.
- Chill the Mixture: Ensure your base is completely cold before freezing for better consistency.
- Avoid Overfilling: Fill the pint container only up to the max line to prevent overflow.
- Experiment with Flavors: Try adding fruit purees, extracts, or spices for unique combinations.
- Re-spin as Needed: If the texture isn’t perfect, use the « Re-spin » option to achieve desired creaminess.
Variations and Recipes to Try
1. Chocolate Gelato
- Replace vanilla extract with 1/4 cup cocoa powder and increase sugar slightly for a rich, chocolatey treat.
2. Strawberry Sorbet
- Blend 2 cups of fresh strawberries with 1/4 cup sugar and 1/4 cup water. Freeze and process for a fruity sorbet.
3. Peanut Butter Banana Ice Cream
- Mash 2 ripe bananas with 1/4 cup peanut butter and 1/4 cup milk. Freeze and spin for a creamy, nutty dessert.
4. Dairy-Free Coconut Ice Cream
- Use coconut milk and sweeten with maple syrup for a vegan-friendly option.
Nutritional Information (Per Serving of Vanilla Ice Cream)
- Calories: 200
- Protein: 2g
- Carbs: 15g
- Fat: 14g

FAQs About Ninja Creami Recipe
1. Can I use non-dairy milk for the Ninja Creami?
Yes! Coconut milk, almond milk, and oat milk work well, but the texture may vary slightly.
2. How long do I need to freeze the mixture?
Freeze for at least 24 hours to ensure the base is solid and ready for processing.
3. What if my ice cream isn’t creamy enough?
Use the « Re-spin » function to improve the texture. You can also add a bit more cream to the base.
4. Can I make sugar-free ice cream?
Absolutely! Use sugar substitutes like stevia, erythritol, or monk fruit sweetener.
5. How do I clean the Ninja Creami?
The pint container and paddle are dishwasher-safe. Rinse immediately after use to prevent residue buildup.
Conclusion
The Ninja Creami recipe is a beginner-friendly way to create creamy, customizable frozen treats at home. With endless flavor possibilities and a straightforward process, this gadget is a must-have for dessert lovers. Whether you’re indulging in classic vanilla or experimenting with unique combinations, the Ninja Creami ensures perfect results every time. Try it out, and don’t forget to share your creations with friends and family!
