Oreo Pie Crust: Buttery and Chocolatey
- Time: Active 10 minutes, Passive 8 minutes, Total 18 minutes
- Flavor/Texture Hook: Intensely cocoa rich and buttery with a satisfying snap
- Perfect for: Decadent cheesecakes, no bake silk pies, or holiday desserts
- Mastering the Perfectly Crunchy Oreo Pie Crust
- Critical Specs for This Dessert Foundation
- Essential Elements for the Ultimate Base
- The Tools for a Crisp Result
- Step-by-Step Guide to Cookie Perfection
- Fixing Common Baking and Chilling Blunders
- Flavor Variations for Your Sweet Treats
- Storing Your Crust for Future Use
- Finishing Touches for a Professional Look
- Myths Regarding Cookie Crusts
- Recipe FAQs
- 📝 Recipe Card
Mastering the Perfectly Crunchy Oreo Pie Crust
The second I drop 25 Oreos into the food processor, that familiar, nostalgic aroma of dark cocoa hits the air. It’s a scent that promises something indulgent is on the way. I remember the first time I tried to make a pie for a friend’s housewarming.
I bought one of those pre made shells from the store, and it was so dry it literally turned to dust the moment the knife touched it. It was embarrassing, honestly. That was the day I realized that a truly great dessert needs a foundation that’s just as thoughtful as the filling.
When you mix those fine, dark crumbs with warm, melted butter, something magical happens. The kitchen smells like a high end bakery, and the mixture takes on the texture of wet sand.
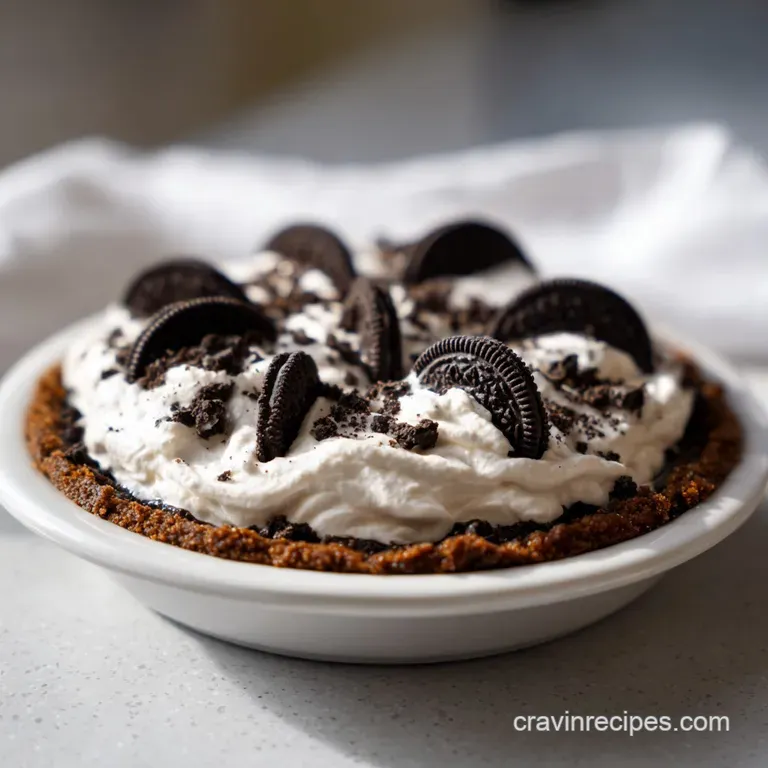
It’s deeply satisfying to press that velvety rubble into a glass pie plate, watching it transform into a sleek, midnight black shell. Whether you’re planning to fill this with a cloud of whipped cream or a dense ganache, this homemade version is light years ahead of anything you’ll find in a plastic tin at the grocery store.
Trust me, once you hear that first "shatter" of the crust under your fork, you’ll never go back to the store-bought stuff. It’s rich, it’s sturdy, and it has that perfect hint of salt from the butter that cuts through the sugar.
We aren't just making a container for a pie; we're making the best part of the whole dessert.
Chef Tip: Freeze your butter for 10 minutes before melting it. It sounds counterintuitive, but colder butter that is then melted quickly seems to bind the crumbs more effectively without making them feel greasy.
Critical Specs for This Dessert Foundation
Crystalline Binding: The sugar in the Oreo cream filling melts slightly during baking, acting as a secondary glue alongside the butter to prevent crumbling.
Fat Saturation: Using 4.5 tablespoons of unsalted butter ensures every crumb is coated, which creates a moisture barrier so the crust doesn't get soggy from the filling.
Thermal Setting: A quick 8 minute bake at 350°F (180°C) caramelizes the sugars, changing the texture from soft crumbs to a firm, snapping shell.
- Deep Cocoa
- Intense and rich base notes
- Sweet Cream
- Smooth, mellow undertones
- Salted Butter
- A savory contrast to the sugar
- Toasted Sugar
- Crisp, caramelized finish
| Method | Time | Texture | Best For |
|---|---|---|---|
| No Bake | 30 minutes chill | Softer, melt in-mouth | Delicate mousses |
| Baked | 8 minutes oven | Crunchy, firm snap | Heavy cheesecakes |
| Frozen | 1 hour freeze | Very firm, cold | Ice cream pies |
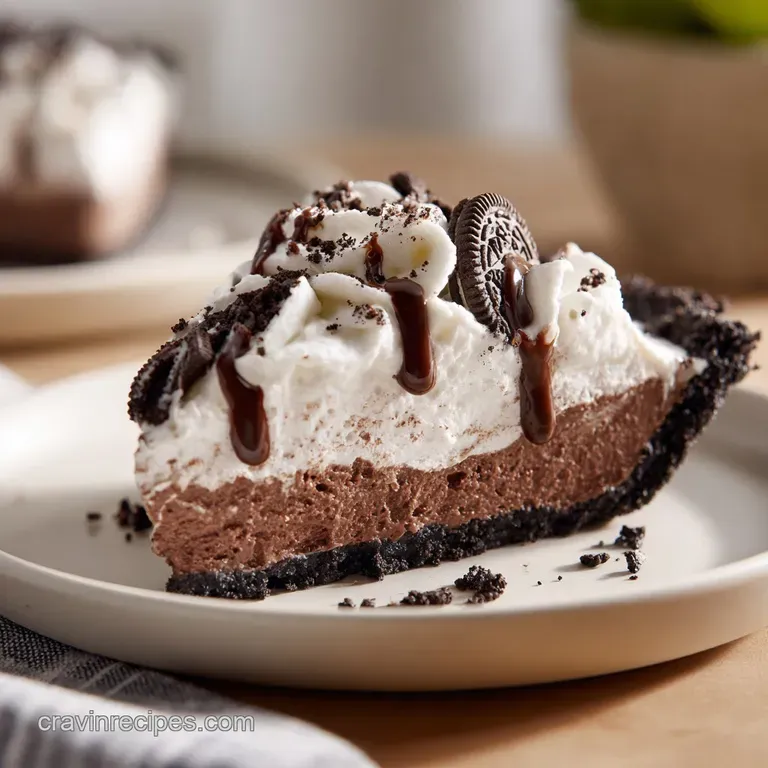
If you are looking for a show stopping center, this base is the start of my favorite Turtle Cheesecake recipe, where the crunch of the pecans meets this chocolatey goodness. The contrast between the dark crust and a creamy filling is what makes these desserts look like they came from a professional pastry shop.
Essential Elements for the Ultimate Base
| Ingredient | Science Role | Pro Secret |
|---|---|---|
| Oreo Cookies | Structural base and sugar source | Don't remove the cream; it’s the secret binder! |
| Unsalted Butter | Fat binder and flavor carrier | Use high-quality butter for a richer, velvety mouthfeel. |
| Salt (Optional) | Flavor contrast | A tiny pinch of flaky salt cuts the cocoa bitterness. |
For this Oreo Pie Crust, we are keeping things simple but high-quality. I’ve found that generic sandwich cookies sometimes have less filling, which can make the crust too dry, so stick to the name brand if you can.
- 25 standard Oreo cookies (295g): Why this? Provides the iconic chocolate flavor and necessary cream filling for binding.
- Substitute: Chocolate graham crackers (add 2 tbsp sugar if using these).
- 4.5 tablespoons unsalted butter (64g), melted: Why this? Acts as the primary glue to hold the crumbs together once chilled.
- Substitute: Melted refined coconut oil for a subtle tropical hint.
The Tools for a Crisp Result
You don't need a professional kitchen to pull this off, but a few specific items make it much easier. A food processor is your best friend here because it gets those crumbs fine and uniform.
If you don't have one, a heavy rolling pin and a gallon sized freezer bag work just as well plus, it's a great way to get out some frustration!
I always recommend using a flat bottomed measuring cup or a small juice glass to press the crumbs into the pan. Using your fingers usually leads to uneven spots and "hot zones" where the crust might crack.
A glass pie plate is also a smart choice because you can actually see if the bottom is browning or if there are any air pockets hiding underneath the surface.
Chef Tip: Add a half teaspoon of espresso powder to the cookie crumbs. It doesn't make it taste like coffee, but it makes the chocolate flavor go from "good" to "extraordinarily deep."
step-by-step Guide to Cookie Perfection
Phase 1: Precision Pulverizing
Place 25 standard Oreo cookies into a food processor. Pulse until you have fine, uniform crumbs with no large chunks remaining. Note: Large pieces will cause the crust to crack later.
Phase 2: The Binding Stage
Transfer the crumbs to a medium bowl and pour in 4.5 tablespoons of melted unsalted butter. Stir with a fork until the mixture looks like wet sand and the butter is fully incorporated.
Phase 3: The Compaction Technique
Dump the buttery crumbs into a 9 inch pie plate. Use the bottom of a heavy measuring cup to press the mixture firmly until it forms an even layer across the bottom and up the sides.
Phase 4: The Heat Set
Bake in a preheated oven at 350°F (180°C) for 8 minutes until you smell a toasted chocolate aroma. Note: Do not overbake, or the sugar will taste burnt.
Phase 5: The Cooling Phase
Remove the pan from the oven and set it on a wire rack. Let it cool completely until the crust is firm to the touch before adding any filling.
Phase 6: Edge Maintenance
While the crust is still warm, use the back of a spoon to gently press back any areas that may have slumped down the sides. This ensures a clean, professional edge for your pie.
Phase 7: The Final Seal
For no bake fillings, place the cooled crust in the freezer for 10 minutes. This creates a cold barrier that prevents the filling from softening the crust too quickly.
Fixing Common Baking and Chilling Blunders
Why Your Crust Is Greasy
If you see a pool of butter at the bottom of your pan, it usually means the butter was too hot when mixed or you used slightly too much. This makes the crust slide down the sides of the dish during the bake. It's a mess, but we can fix it.
To Prevent the Crust from Slumping
Slumping happens when the crumbs aren't packed tightly enough or the butter to crumb ratio is off. You want that "wet sand" feel. If it feels like soup, add two more crushed cookies. If it's too dry, add a teaspoon more of melted butter until it holds its shape when squeezed in your palm.
| Problem | Root Cause | Solution |
|---|---|---|
| Crumbly edges | Insufficient packing pressure | Use a flat bottomed cup to firmly compress the sides. |
| Soggy bottom | Filling added while crust was warm | Allow the baked crust to cool completely to room temp. |
| Stuck to pan | No fat barrier or overbaked sugar | Lightly grease the pie plate with butter before pressing. |
Common Mistakes Checklist:
- ✓ Ensure you use the whole cookie (cream included!) to provide structural glue.
- ✓ Don't skip the bake if you want a crunchy, snap like texture.
- ✓ Use a measuring cup to press corners; fingers leave uneven divots.
- ✓ Let the melted butter cool slightly so it doesn't "fry" the crumbs instantly.
- ✓ Measure your butter after melting to ensure the 4.5 tablespoon accuracy.
Flavor Variations for Your Sweet Treats
If you want to move away from the classic chocolate, the "Golden" Oreo is a fantastic alternative. It provides a vanilla wafer vibe that pairs beautifully with fruit fillings or a classic banana cream pie. It’s a bit sweeter, so I usually add a pinch of salt to balance it out.
For a really intense experience, try this with the Cookies Double Choc recipe as inspiration by adding some mini chocolate chips to the crust mixture before baking. They melt and create "chocolate rivets" that make the shell even more durable.
| Original Ingredient | Substitute | Why It Works |
|---|---|---|
| Standard Oreos | Mint Oreos | Adds a refreshing zing perfect for grasshopper pies. |
| Unsalted Butter | Browned Butter | Adds a nutty, toasted depth that complements the cocoa. |
| Food Processor | Ziploc & Rolling Pin | Provides a coarser, more rustic texture for a home style look. |
Storing Your Crust for Future Use
You can absolutely make this ahead of time! A baked and cooled Oreo Pie Crust will stay fresh on the counter for about 2 days if covered tightly with plastic wrap. If you want to get even further ahead, you can freeze the unbaked crust in the pie plate for up to 3 months.
Just wrap it in a double layer of foil to prevent freezer burn.
When you're ready to use a frozen crust, you can bake it straight from the freezer just add 2 minutes to the bake time. For zero waste, if you have leftover crumbs, don't throw them away!
I like to toast them in a pan with a little butter and sprinkle them over vanilla ice cream or use them as a "dirt" topping for chocolate pudding.
Finishing Touches for a Professional Look
To get that restaurant quality finish, pay attention to the top rim of the crust. Instead of letting it be jagged, use your thumb and forefinger to pinch the top edge into a flat, even "shelf" all the way around the plate. This creates a clean line where your filling meets the crust.
Another trick is the "Crumb Garnish" strategy. Save about two tablespoons of the buttered crumbs before you press the rest into the pan. After you've filled your pie and topped it with whipped cream, sprinkle those reserved crumbs over the top.
It signals to everyone exactly what the base is made of and adds a lovely textural contrast to a soft filling.
Chef Tip: For an extra glossy and dark appearance, use "Double Stuf" Oreos but reduce the butter to 3.5 tablespoons. The extra cream filling adds more moisture and a slightly fudgier bite.
Myths Regarding Cookie Crusts
One of the biggest myths is that you have to scrape the white cream out of the middle of the cookies. That is a total waste of time and flavor! The cream actually contains fats and sugars that help bind the crumbs together, creating a sturdier shell.
Without it, you'd need significantly more butter, which can make the crust feel heavy and greasy.
Another misconception is that graham cracker crusts are always the "safer" choice. In reality, a cookie based crust is often more structurally sound because of that higher sugar content.
It caramelizes and sets harder than a standard graham cracker base, making it the superior choice for heavy, dense fillings like New York style cheesecake. Don't be afraid of the "crunch" it's exactly what you want.

Recipe FAQs
Are store-bought pre-made Oreo pie crusts discontinued?
No, they are generally not discontinued, but harder to find. Grocery stock often fluctuates based on seasonal demand and regional distribution.
Why are pre-made Oreo pie crusts sometimes hard to find?
They are often relegated to the freezer or refrigerated section. Check frozen dessert aisles or specialty bakery sections, as they are less common on standard dry shelves now.
Can you use whole Oreo cookies instead of just the crumbs for the crust?
No, you must crush them first. Whole cookies will not bind properly with the butter and will result in a hard, uneven shell that crumbles apart.
Is it true you should always remove the white cream filling before making the crust?
No, this is a common misconception. The filling contains fats and sugars that act as a necessary secondary binder alongside the added butter.
How do I ensure my homemade Oreo crust doesn't become soggy under a creamy filling?
Bake the crust for 8 minutes at 350°F before filling. This process caramelizes the sugars, creating a firm, waterproof barrier that resists moisture absorption.
What is the best substitute for Oreos if I need a non-chocolate crust?
Use vanilla sandwich cookies or Nilla wafers. These provide a similar sandy texture but offer a neutral, sweet base perfect for fruit fillings.
Which Oreo flavor variation creates the rarest or most unique crust?
Mint Oreos offer the most distinct flavor profile. The cool mint cuts through the richness of the butter, making a surprisingly refreshing and less common base.
Buttery Oreo Pie Crust

Ingredients:
Instructions:
Nutrition Facts:
| Calories | 234 kcal |
|---|---|
| Protein | 1.2 g |
| Fat | 13.9 g |
| Carbs | 26.6 g |
| Fiber | 0.9 g |
| Sugar | 14.0 g |
| Sodium | 178 mg |
