Easy Mini Cheesecake Recipe with Graham Cracker Crust
- Time: Active 15 minutes, Passive 20 minutes, Total 35 minutes
- Flavor/Texture Hook: Tangy, velvety filling over a salty sweet crunch
- Perfect for: Elegant dinner parties or quick weekend treats
- Creating the Perfect Mini Cheesecake Recipe
- The Physics of the Velvety Crumb
- Analyzing Every Crucial Ingredient
- Essential Baking Times and Specs
- Tools for Bakery Style Results
- Step by Step Baking Guide
- Solving Common Baking Problems
- Tasty Swaps and Variations
- Proper Storage and Freezing
- Stunning Ways to Serve
- Myths About This Dessert
- Recipe FAQs
- 📝 Recipe Card
Creating the Perfect Mini Cheesecake Recipe
Imagine the kitchen filling with the scent of toasted butter and honeyed graham crackers. It is a warm, nostalgic aroma that usually means someone is about to be very happy. I first mastered this mini cheesecake recipe during a frantic Saturday morning before a friend’s baby shower.
I wanted that iconic, dense Philadelphia style texture but did not have three hours to babysit a massive springform pan in a temperamental water bath.
The result was a tiny, indulgent miracle. When you pull these out of the oven, the edges are just set, while the centers still have that enticing, playful jiggle. They are rich, buttery, and exactly what you want when a sugar craving hits hard.
I have made the mistake of using cold cream cheese before, and trust me, you do not want to go down that lumpy road. We are aiming for a batter so smooth it looks like silk ribbons.
You are going to love how the bright hit of lemon juice cuts through the heavy creaminess of the cheese. It is all about balance. The crust stays crisp, the filling stays gooey in the best way possible, and honestly, you might find it hard to stop at just one.
Let’s get into the nitty gritty of why this specific method works every single time.
The Physics of the Velvety Crumb
Acidic Tightening: Lemon juice reacts with the cream cheese proteins, causing them to tighten slightly and create a structure that holds its shape without becoming rubbery.
Fat Emulsification: Sour cream introduces a different fat molecule size than cream cheese, which helps fill gaps in the protein matrix for a smoother mouthfeel.
Steam Cushioning: Placing a pan of water on the lower rack creates a humid environment that prevents the top from drying out and cracking during the rise.
| Baking Method | Active Time | Resulting Texture | Best Use Case |
|---|---|---|---|
| Standard Oven | 20 minutes | Dense, classic, slightly browned edges | Traditional New York style |
| Stovetop Steam | 15 minutes | Ultra soft, pale, mousse like | Light summer desserts |
| Air Fryer | 12 minutes | Very firm, dark golden crust | Quick individual cravings |
The choice between methods really depends on your texture preference, but for that authentic "snap" in the crust and "velvet" in the middle, the oven remains king. Using the oven allows for a slow, even heat penetration that you just cannot replicate on a stove burner.
Analyzing Every Crucial Ingredient
| Ingredient | Science Role | Pro Secret |
|---|---|---|
| Cream Cheese | Structural Base | Always use the block style, never the whipped tub version for stability. |
| Sour Cream | Moisture Agent | Use full fat to ensure the crumb remains supple and rich after cooling. |
| Large Eggs | Protein Binder | Whisk them separately before adding to prevent over mixing the heavy batter. |
| Lemon Juice | Flavor Catalyst | Freshly squeezed juice provides a brighter enzymatic reaction than bottled versions. |
Each of these components plays a part in the "flavor layering" we are building. The sour cream isn't just for moisture; it adds a sophisticated tang that balances the 100g of granulated sugar perfectly.
When these elements hit your palate, you get the sweetness first, followed by the rich butter, and finally that sharp, clean finish from the lemon.
Essential Baking Times and Specs
Before you start preheating, let's look at the numbers. You will need 150g of graham cracker crumbs, which is about 9 to 10 full rectangular sheets. Ensure your 56g of unsalted butter is melted but not boiling hot when it hits the crumbs.
If it is too hot, it can make the sugar in the crumbs seize up, leading to a greasy base rather than a crisp one.
For the filling, 450g of cream cheese is the standard two block amount in most grocery stores. Make sure it sits on the counter for at least 2 hours. If the cheese is even slightly chilly, you will end up with tiny white specks in your batter that refuse to incorporate.
We want a perfectly homogenous mixture.
Chef's Tip: Freeze your empty muffin tin for 10 minutes before lining it. This helps the liners stay perfectly upright and prevents the butter in the crust from melting too quickly when it hits the oven.
Tools for Bakery Style Results
You do not need a professional kitchen, but a few specific items make this much easier. A standard 12 cup muffin tin is essential. I prefer using paper liners, but foil liners are even better if you want a cleaner release from the sides.
A hand mixer works perfectly here; a massive stand mixer can actually incorporate too much air into such a small batch, leading to unsightly bubbles.
A flat bottomed measuring cup is my secret weapon for the crust. Instead of using your fingers, use the bottom of the cup to press the crumbs into the tin. This ensures an even thickness and a much more professional look. Also, have a small wire rack ready for cooling.
Getting air circulation under the pan is the only way to stop the "carryover cooking" that can turn a soft cheesecake into a dry one.
step-by-step Baking Guide
- Preheat the oven to 180°C. Note: This temperature ensures the crust sets before the filling gets too hot.
- Pulse graham crackers into fine crumbs. Process until they look like wet sand.
- Combine 150g crumbs, 56g melted butter, 25g sugar, and salt.
- Press 1 tablespoon of mixture into each liner. Pack it down until it feels like a solid floor.
- Bake the crusts for 5 minutes. Remove when you smell a nutty, toasted aroma.
- Beat 450g cream cheese and 100g sugar. Mix until the texture is silky and no lumps remain.
- Add 120g sour cream, 5ml vanilla, and 5ml lemon juice. Note: Adding liquids now prevents the eggs from over working later.
- Incorporate 2 eggs one at a time. Stop mixing the moment the yellow streaks disappear.
- Fill each liner almost to the top. Tap the pan on the counter to release trapped air.
- Bake for 18 to 20 minutes. Pull them out when the edges are set but the center still wobbles.
Watching that center jiggle is the most important part of this whole process. If you wait until the center is firm, you have overbaked it. The residual heat from the pan will finish the job while they cool on the counter. This is similar to the patience needed for a Soft and Chewy recipe where the carryover heat is your best friend.
Solving Common Baking Problems
Why Your Cheesecake Sunk
This usually happens because too much air was whipped into the batter. When the air bubbles heat up, they expand and lift the cake, but once it cools, those bubbles collapse, leaving a crater. To avoid this, keep your mixer on the lowest speed possible once you add the eggs.
Dealing With Grainy Texture
If your cheesecake feels gritty on the tongue, it is likely the sugar didn't dissolve or the cream cheese was too cold. Always cream the sugar and cheese together for at least 3 minutes before adding anything else. This gives the sugar crystals time to break down into the fat of the cheese.
| Problem | Root Cause | Solution |
|---|---|---|
| Cracked tops | Oven was too hot or overbaked | Use a water tray on the bottom rack next time. |
| Soggy crust | Butter leaked or underbaked | Pre bake the crust for a full 5 minutes until firm. |
| Lumpy batter | Cold ingredients | Ensure cheese and eggs are at room temperature (20°C). |
Common Mistakes Checklist
- ✓ Pat the lemon dry before zesting to keep moisture levels precise
- ✓ Preheat the oven for at least 20 minutes for a stable temperature
- ✓ Avoid opening the oven door during the first 15 minutes of baking
- ✓ Scrape the bottom of the bowl frequently to catch hidden cheese lumps
- ✓ Let the cheesecakes sit in the turned off oven with the door cracked for 10 minutes
Tasty Swaps and Variations
If you want to change things up, the base recipe is very forgiving. You can swap the graham crackers for ginger snaps if you want a spicy, warm kick. I’ve even used crushed chocolate sandwich cookies for a "cookies and cream" vibe that kids absolutely lose their minds over.
| Original Ingredient | Substitute | Why It Works |
|---|---|---|
| Graham Crumbs | Gingersnaps (150g) | Adds a spicy, molasses depth to the base. |
| Sour Cream | Greek Yogurt (Full fat) | Provides a similar tang with a slightly lighter finish. |
| Granulated Sugar | Brown Sugar | Note: Adds a caramel note but makes the filling slightly darker. |
If you are looking for a fruitier twist, you could try a version of my No Bake Strawberry recipe by swirling some fresh puree into the tops before baking. Just use a toothpick to create a marble effect. It looks like you spent hours on it, but it only takes about thirty seconds.
Proper Storage and Freezing
Storing these little beauties is straightforward. Once they have reached room temperature, move them to an airtight container. They stay fresh and velvety in the fridge for up to 5 days.
In fact, I think they taste even better on day two because the flavors have had time to settle and the lemon punch becomes more pronounced.
For freezing, place the individual cheesecakes on a baking sheet and freeze until solid. Then, wrap each one tightly in plastic wrap and store them in a freezer bag for up to 3 months. When the craving hits, just let one thaw in the fridge for about 2 hours.
Do not microwave them to thaw; the high heat will cause the fats to separate and turn the texture into something quite unpleasant.
To reduce waste, if you have leftover graham cracker crumbs, toss them with a little extra butter and cinnamon. Bake them on a tray for 5 minutes and use them as a "cheesecake granola" over yogurt the next morning. It is a sugary, buttery win win situation.
Stunning Ways to Serve
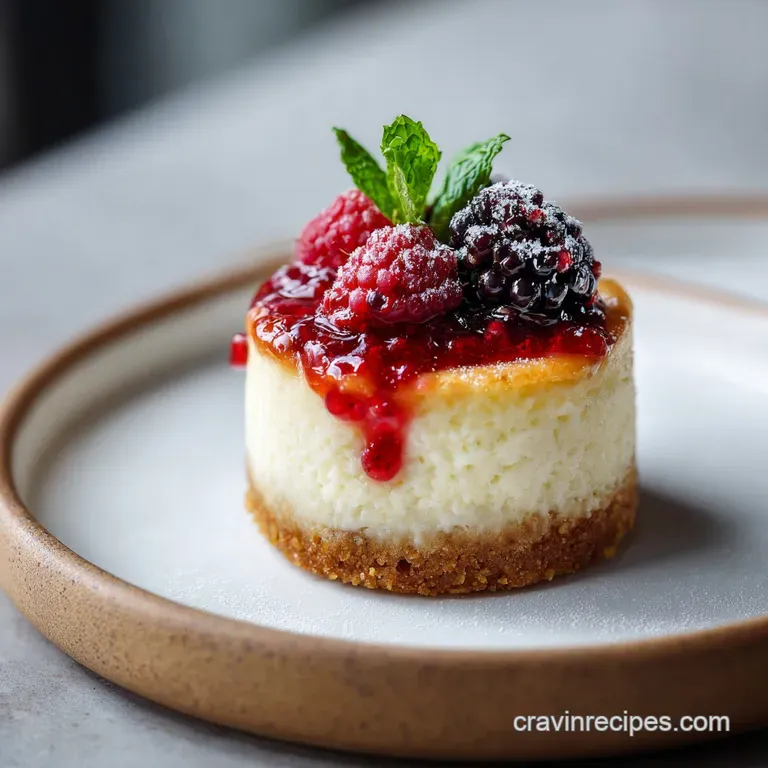
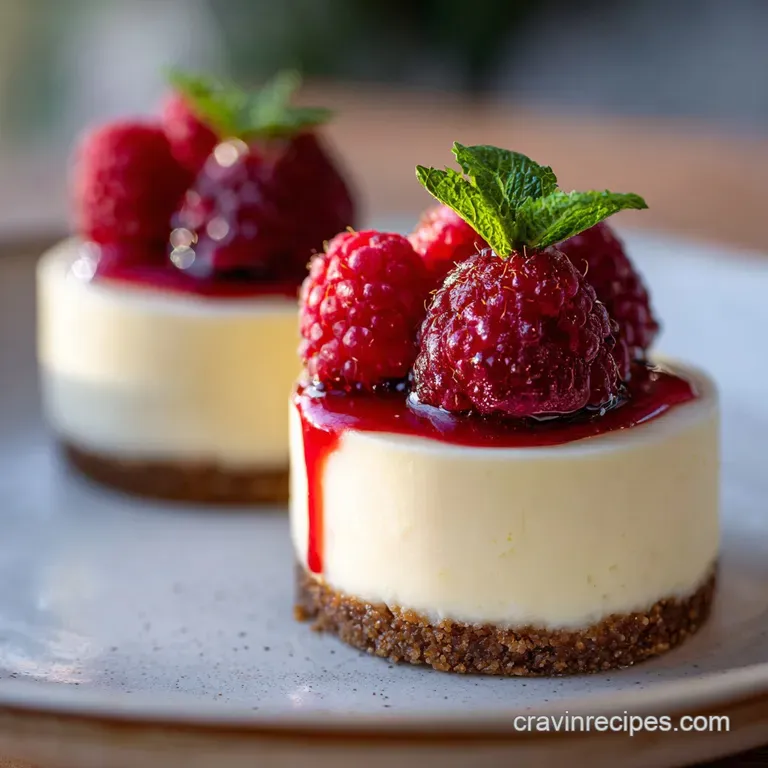
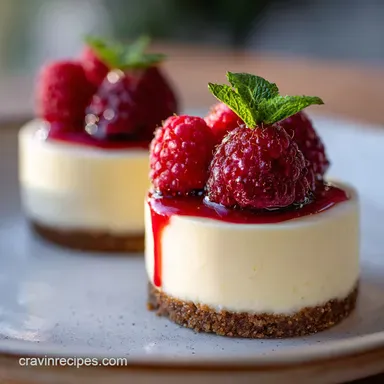
Presentation is where you can really let your personality shine. I love topping these with a single fresh raspberry and a tiny sprig of mint. The red against the pale ivory cheesecake looks incredibly sophisticated.
If you want something more indulgent, a drizzle of salted caramel and a pinch of flaky sea salt will make people think you bought these at a high end bakery.
Another fun idea is to serve them with a side of something crunchy. They pair beautifully when served alongside a platter of my Soft and Chewy recipe for a "milk and cookies" dessert bar. The contrast between the cold, tangy cheesecake and a room temperature chocolate chip cookie is a total crowd pleaser.
Chef's Tip: For a perfectly clean look, dip a small offset spatula in hot water and wipe it dry before running it around the edge of the cheesecake to release it from the liner. The heat melts the outer layer of fat just enough to create a glass smooth edge.
Myths About This Dessert
One common myth is that you must use a water bath for mini cheesecakes. While a water bath is essential for a large 9 inch cake to prevent the edges from overcooking before the middle is done, mini versions are so small that the heat penetrates quickly and evenly anyway.
A simple tray of water on the rack below provides more than enough humidity.
Another misconception is that you can't over mix cheesecake batter. Many people think "more mixing = smoother." In reality, once those eggs go in, every second of mixing adds air. Air causes the cake to rise like a souffle and then crash.
For a dense, indulgent New York texture, mix just enough to combine and not a second longer. Trust the room temperature ingredients to do the smoothing for you.

Recipe FAQs
Is a water bath necessary when baking mini cheesecakes?
No, it is generally not required for mini versions. The small size allows heat to penetrate evenly and quickly, minimizing the risk of large cracks commonly seen in full sized cheesecakes.
How do I ensure my crust stays crisp and doesn't become soggy?
Pre-bake the crust for five minutes before adding the filling. This dries out the butter and sets the crumbs before the moist filling is introduced, ensuring a necessary structural barrier.
What is the best way to prevent the filling from becoming lumpy?
Ensure all dairy ingredients are at true room temperature, around 20°C. Cold cream cheese traps small, unmixed pockets of fat; using room temperature ingredients allows them to emulsify into a smooth batter.
How long should I mix the batter once the eggs are added?
Mix only until the egg streaks just disappear. Overmixing after adding eggs incorporates excess air, which causes the cheesecake to puff dramatically in the oven and then collapse into a crater while cooling.
Can I substitute sour cream with regular milk?
No, substituting with regular milk will result in a thin, unstable filling. Sour cream provides necessary fat content and acidity for structure, similar to how full fat yogurt is used to stabilize the filling in our Peanut Butter Balls recipe.
What is the key to achieving that signature dense, velvety texture?
Minimize air incorporation and use full fat dairy products. The dense texture comes from fat and protein structure, not aeration; for a similar rich mouthfeel achieved through controlled emulsification, study the technique in our Homemade Biscuits and recipe.
How long must the cheesecakes cool before chilling them for setting?
Allow them to cool completely on the counter for at least 45 minutes. Once they reach room temperature, cover them loosely and refrigerate for at least four hours, or preferably overnight, to fully set the structure.
Easy Mini Cheesecake Recipe
Ingredients:
Instructions:
Nutrition Facts:
| Calories | 286 calories |
|---|---|
| Protein | 4.4 g |
| Fat | 20.7 g |
| Carbs | 21.8 g |
| Fiber | 0.4 g |
| Sugar | 16.4 g |
| Sodium | 215 mg |
