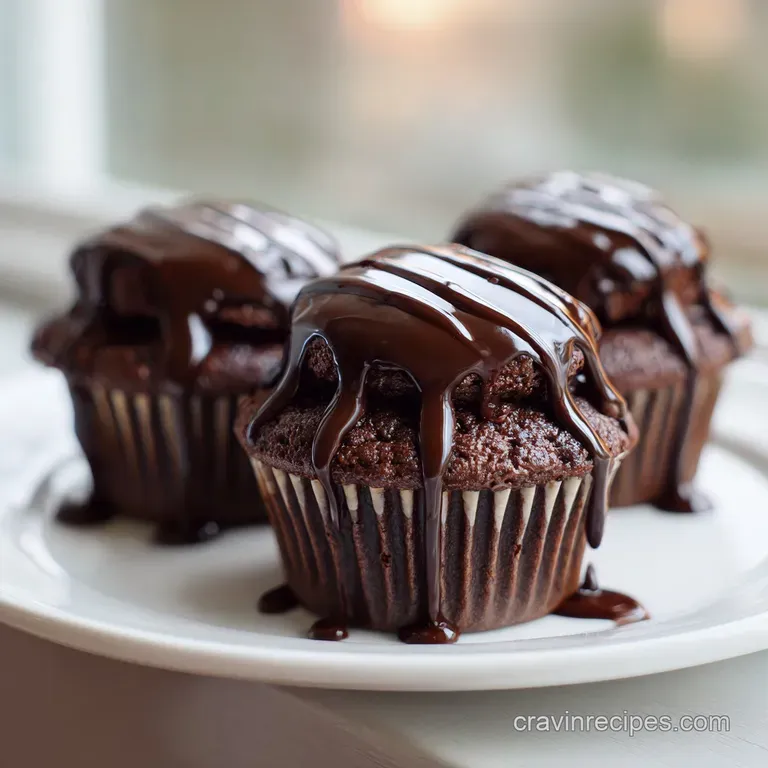
Chocolate Cupcakes with Chocolate: Fudgy & Moist
- Time: Active 15 minutes, Passive 20 minutes, Total 35 minutes
- Flavor/Texture Hook: Fudgy, moisture rich crumb with a silky ganache center
- Perfect for: Birthday parties, weekend indulgence, or impressing fellow chocolate lovers
- Perfecting Chocolate Cupcakes With Chocolate
- Why This Rich Batter Works
- Essential Timing and Yields
- Selecting Quality Chocolate Ingredients
- Necessary Baking Equipment
- The Baking Process
- Troubleshooting Common Baking Issues
- Delicious Recipe Variations
- Freshness and Storage Tips
- Serving and Presentation
- Recipe FAQs
- 📝 Recipe Card
Perfecting Chocolate Cupcakes With Chocolate
You know that specific kitchen smell that hits when you pour boiling coffee over dark cocoa powder? It is earthy, intense, and slightly intoxicating. I remember my first attempt at this recipe back in my old apartment with the oven that ran ten degrees too hot.
I was so impatient for a sugar fix that I didn't wait for them to cool, and I ended up with a face full of molten chocolate ganache. It was a mess, but it was the best mistake I ever made.
That's when I realized that a truly great cupcake is not just about the cake; it is about the layers of texture that make every bite feel like a secret.
We have all been there, staring at a dry, crumbly cupcake that tastes more like cardboard than cocoa. I spent months tweaking the ratio of oil to butter and testing different liquids until I landed on this specific method. This recipe is the result of those messy afternoons.
It is designed for those of us who believe that more is more when it refers to chocolate. We are going for a crumb so moist it almost sticks to the roof of your mouth, topped with a frosting so buttery it melts the second it hits your tongue.
If you are looking for something light and airy, you might be in the wrong place. These are substantial. They are rich. They are the kind of treat you share with your best friend when you have some serious tea to spill.
Trust me on this, once you try the "blooming" technique we are about to use, you will never go back to just whisking dry ingredients together. Let's get into the sweet details.
Why This Rich Batter Works
The secret to these cupcakes lies in how we treat the cocoa powder. Most recipes just toss it in with the flour, but we are going to treat it with some respect.
- The Bloom Effect: Boiling water or hot coffee dissolves the cocoa solids instantly, releasing flavor oils that otherwise stay trapped. This creates a more intense, darker chocolate experience without adding extra bitterness.
- Fat Synergy: Using vegetable oil instead of butter in the batter ensures the cake stays soft even when cold. Oil is a liquid at room temperature, which prevents that "refrigerator dry" texture common in butter based cakes.
- Acid Base Balance: The combination of baking soda and Dutch processed cocoa creates a chemical reaction that results in a plush, dark crumb. The Dutch processing reduces acidity, allowing the chocolate notes to shine through clearly.
- Hydration Levels: A high liquid to flour ratio creates a thin batter that rises beautifully. This results in a delicate crumb structure that feels professional rather than homemade.
The Physics of the Bloom
When hot liquid hits the cocoa powder, it breaks down the clumps and hydrates the particles instantly. This process ensures the chocolate flavor is evenly distributed through every single molecule of the batter.
| Doneness Stage | Internal Temp | Visual Cue | Touch Test |
|---|---|---|---|
| Underbaked | Below 200°F | Surface looks shiny/wet | Finger leaves a deep indent |
| Perfect | 205°F - 210°F | Tiny cracks on top | Springs back when pressed |
| Overbaked | Above 212°F | Pulling away from edges | Feels firm and hard |
Getting the moisture right is everything in baking, much like the precision needed for a Soft and Chewy recipe where the bake time dictates the final pull. If you pull these out too early, they will sink in the middle; too late, and you lose that fudgy soul we worked so hard to build.
Essential Timing and Yields
When we talk about "chocolate cupcakes with chocolate," we are looking at a three component build: the base, the filling, and the crowning glory. Each needs its own moment to shine.
| Ingredient Component | Science Role | Pro Secret |
|---|---|---|
| Dutch Cocoa | Provides color and depth | Sift it twice to avoid "cocoa bombs" in the crumb |
| Boiling Coffee | Enhances chocolate notes | The caffeine mimics the bitterness of high end cacao |
| Granulated Sugar | Tenderizes the gluten | Whisk it into the wet ingredients to dissolve early |
| Vegetable Oil | Moisture retention | Use a neutral oil like grapeseed for zero aftertaste |
A quick note on the coffee: you won't actually taste the "java." It just acts as a megaphone for the chocolate, making it taste more like itself. If you are serving these to kids or just aren't a fan, boiling water works just as well, though the flavor won't be quite as "midnight dark."
Selecting Quality Chocolate Ingredients
For the absolute best results, don't just grab the first bag of chips you see. The quality of your fat and your sugar will dictate the "melt in-the mouth" factor.
- 190g all purpose flour: The skeleton of our cupcake. Why this? Provides enough structure to hold the heavy ganache center without being tough.
- 200g granulated sugar: For sweetness and moisture. Why this? It hygroscopically holds onto water, keeping the cake fresh for days.
- 45g Dutch processed cocoa powder: For that deep mahogany color. (Substitute: Natural cocoa, but the color will be lighter).
- 1 tsp baking powder & 0.5 tsp baking soda: Our leavening duo.
- 1 large egg: Room temperature is a must. (Substitute: 1/4 cup unsweetened applesauce for a denser crumb).
- 120ml whole milk: Adds fat and richness. (Substitute: Buttermilk for a tangier profile).
- 60ml vegetable oil: For the ultimate soft texture.
- 120ml boiling water or coffee: To bloom the cocoa.
- 90g semi sweet chocolate chips: For the ganache. Why this? High cocoa butter content ensures a smooth, non grainy melt.
- 225g unsalted butter: Softened to room temp for the frosting.
- 360g powdered sugar: The bulk of our frosting cloud.
| Original Ingredient | Substitute | Why It Works |
|---|---|---|
| Whole Milk (120ml) | Full fat Greek Yogurt | Adds a slight tang and massive moisture. Note: Batter will be thicker. |
| Semi Sweet Chips | Dark Chocolate Bar (chopped) | Higher quality cocoa butter. Note: Creates a richer, more sophisticated filling. |
| Vegetable Oil | Melted Coconut Oil | Similar fat profile. Note: Adds a subtle tropical scent to the finished bake. |
If you find yourself running low on supplies, you can often repurpose items like a Pancake Mix Recipe base for other quick breads, but for these cupcakes, stick to the exact flour weight for that specific velvety crumb.
Necessary Baking Equipment
You don't need a professional laboratory, but a few specific tools will make your life much easier. I have tried making frosting with a fork once never again. My arms felt like they were going to fall off, and the results were lumpy at best.
- Standard 12 cup muffin tin: Essential for even heat distribution.
- Paper liners: Trust me, do not try to just grease the pan; these are too moist.
- Stand mixer or hand mixer: For whipping that butter into submission.
- Heat proof bowl: For the ganache and the boiling water step.
- Whisk and spatula: To ensure no pockets of dry flour are hiding at the bottom.
The Baking Process
Right then, let's get into the actual cooking. Preheat your oven to 180°C (350°F). Line your tin and get your ingredients ready. This moves fast once you start.
Phase 1: The Rapid Mix Batter
- Whisk dry ingredients. Combine 190g flour, 200g sugar, 45g cocoa, baking powder, soda, and salt in a large bowl. Note: This ensures the leavening agents are perfectly distributed.
- Add wet components. Stir in the egg, 120ml milk, 60ml oil, and vanilla. Whisk until the batter is thick and dark.
- Bloom the cocoa. Carefully pour in 120ml of boiling water or coffee. Whisk slowly until the batter is thin, smooth, and glossy. Don't worry it is supposed to look like soup!
- Fill the liners. Divide the batter evenly, filling each about 2/3 full. Note: Overfilling leads to "mushroom tops" that are hard to frost.
- Bake the cakes. Slide into the oven for 18-20 minutes until a toothpick comes out with just a few moist crumbs.
Phase 2: The "Hidden" Ganache Center
- Melt the filling. Heat 60ml heavy cream until simmering, then pour over 90g chocolate chips. Let sit 5 mins, then stir until velvety and sleek.
- Core the cupcakes. Once cooled, use a small knife to remove a 1 inch piece from the center of each cake.
- Fill them up. Spoon the ganache into the holes. You can snack on the removed cake pieces chef's privilege!
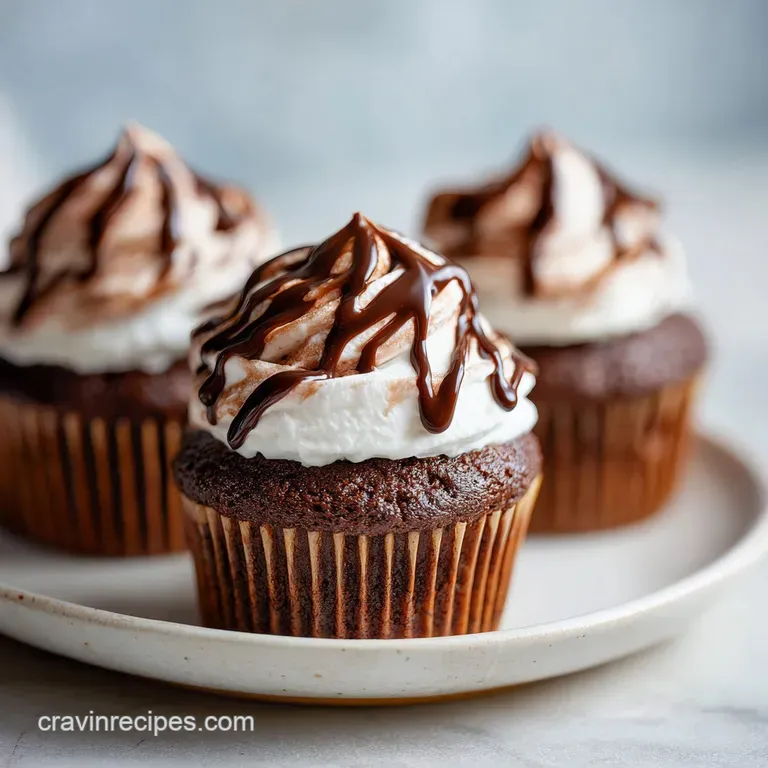
Phase 3: The Cloud Like Finish
- Cream the butter. Beat 225g butter for 3 full minutes until it looks pale and fluffy.
- Incorporate the sugar. Gradually add 360g powdered sugar, 40g cocoa, and 45ml cream. Whip on high until it holds a stiff peak.
- Frost and serve. Use a piping bag or a simple spoon to swirl that chocolate cloud onto each cupcake.
Troubleshooting Common Baking Issues
Even the best bakers have "off" days. If your cupcakes don't look like the photos, don't panic. Most issues are easy to fix once you understand the "why" behind the "what."
Why Your Cupcakes Sank
This usually happens because of a sudden temperature drop or under leavening. If you open the oven door too early, the cool air collapses the air bubbles before the flour structure has set. Another culprit is expired baking soda it loses its "lift" after about six months.
Why Your Frosting Is Grainy
Grainy frosting usually means the powdered sugar wasn't sifted or the butter was too cold. If the butter is cold, it won't emulsify with the sugar, creating tiny little sweet lumps. If this happens, you can sometimes save it by adding a teaspoon of warm cream and whipping on high for another two minutes.
| Problem | Root Cause | Solution |
|---|---|---|
| Liners peeling off | Steam trapped under cakes | Remove cupcakes from the tin immediately after baking. |
| Crumb is dry/tough | Over mixing the flour | Stop whisking as soon as the last white streak disappears. |
| Ganache is too runny | Too much cream | Chill the ganache in the fridge for 10 mins before filling. |
Common Mistakes Checklist
- ✓ Ensure your egg is truly at room temperature (dip it in warm water for 5 mins if needed).
- ✓ Never skip sifting the cocoa powder; those lumps will not bake out.
- ✓ Fill the liners exactly 2/3 full; this batter rises more than you think!
- ✓ Let the cupcakes cool completely before coring, or they will crumble into a mess.
- ✓ Use Dutch processed cocoa for the frosting to get that professional dark look.
If you are looking for a different kind of small batch treat, you might find the technique in my Mini Cheesecake Recipe helpful for mastering portions.
Delicious Recipe Variations
While "chocolate cupcakes with chocolate" is a classic, you can easily pivot this recipe to suit different moods.
- The Salted Caramel Twist: Replace the ganache filling with a thick salted caramel sauce and top with a pinch of flaky sea salt.
- The Mocha Kick: Increase the coffee in the batter to 150ml and add a teaspoon of espresso powder to the frosting.
- White Chocolate Contrast: Fill the center with white chocolate ganache instead of semi sweet for a beautiful visual surprise when bitten into.
Chef's Tip: Freeze your butter for 10 minutes before making the frosting, then grate it into the bowl. This creates tiny pockets of air that result in an impossibly light texture.
Freshness and Storage Tips
Storing these correctly is the difference between a treat that lasts all week and one that goes stale by Tuesday.
Storage: Keep these in an airtight container at room temperature for up to 2 days. If your kitchen is very warm, move them to the fridge, but let them sit out for 30 minutes before eating so the frosting softens.
Freezing: You can freeze the unfrosted cupcakes for up to 3 months. Wrap them individually in plastic wrap and then in a freezer bag. To thaw, just leave them on the counter for an hour.
Zero Waste: If you have leftover frosting, use it as a dip for strawberries or pretzels. Those little "cores" you removed from the center of the cupcakes? Crumble them over vanilla ice cream or mix them with a spoonful of frosting to make "cake pop" truffles.
Nothing goes to waste in a chocolate obsessed kitchen!
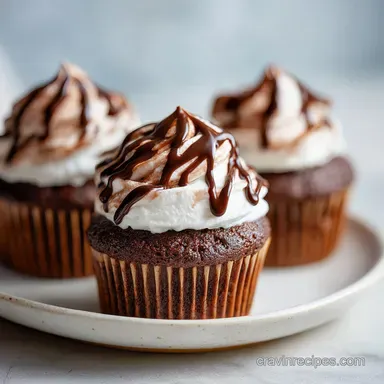
Serving and Presentation
The way you present these can turn a simple snack into a "wow" moment. Since we are dealing with a triple chocolate situation, I like to lean into the richness.
For the Triple Threat Contrast
A dusting of bright red freeze dried raspberry powder over the dark frosting looks stunning and adds a tart punch. Alternatively, a single gold leaf flake or a simple chocolate curl made with a vegetable peeler and a Hershey bar goes a long way.
Myth: Oil Makes Cakes Greasy
This is a total myth. While butter adds flavor, oil provides a superior mouthfeel in chocolate cakes. The fat in the oil coats the flour proteins more effectively than butter, preventing gluten from getting too tough. You get a moist, tender bite every single time without any "greasy" residue.
Myth: You Must Use Special Cake Flour
You absolutely do not need cake flour for these. Because we have so much sugar and liquid in this "chocolate cupcakes with chocolate" recipe, the gluten is naturally weakened. All purpose flour provides the perfect amount of "backbone" to hold up that heavy ganache core without making the cake feel heavy.
Now, go grab your whisk and let's get baking! Your kitchen is about to smell like the best bakery in town. Honestly, don't even bother with the low-fat milk; go full fat for the best experience. You deserve it.

Recipe FAQs
Is it necessary to use hot coffee instead of hot water when blooming the cocoa powder?
No, hot water works fine for blooming. Coffee simply enhances the depth and darkness of the chocolate flavor without making the final product taste like coffee.
How to achieve an ultra moist crumb in chocolate cupcakes?
Use vegetable oil instead of all butter in the batter. Oil remains liquid at room temperature, preventing the dry, firm texture that butter heavy cakes often develop when cooled.
How to properly insert a hidden ganache filling into baked cupcakes?
Remove a core from the center of the cooled cupcake base. Use a small knife or corer to scoop out about one inch of cake, then spoon the prepared ganache into the cavity before frosting.
Why do my chocolate cupcakes sometimes taste slightly gritty after baking?
This usually means the cocoa powder was not sifted thoroughly. Ensure you sift both the cocoa and powdered sugar; alternatively, over whisking the flour can develop too much gluten, leading to toughness.
Can I substitute the all-purpose flour with cake flour for a lighter texture?
No, stick with all-purpose flour for this recipe. The high amounts of liquid and sugar already tenderize the crumb significantly, and switching flour types here might result in a structure that collapses under the weight of the ganache filling.
How long can I store frosted chocolate cupcakes before they start tasting dry?
Store them at room temperature in an airtight container for up to two days. Refrigeration is possible but should be avoided if possible, as the cold temperature hardens the butter in the frosting and dries out the crumb structure.
How to ensure the chocolate frosting whips up light and not dense?
Cream the butter alone for a full three minutes until it is visibly pale and fluffy. Incorporating air into the fat first creates the necessary foundation before you add the heavy powdered sugar, ensuring a light texture similar to what we achieve when preparing a classic Cinnamon Rolls for recipe icing.
Moist Chocolate Cupcakes Recipe
Ingredients:
Instructions:
Nutrition Facts:
| Calories | 507 kcal |
|---|---|
| Protein | 4.3 g |
| Fat | 26.9 g |
| Carbs | 68.4 g |
| Fiber | 2.5 g |
| Sugar | 51.3 g |
| Sodium | 186 mg |
