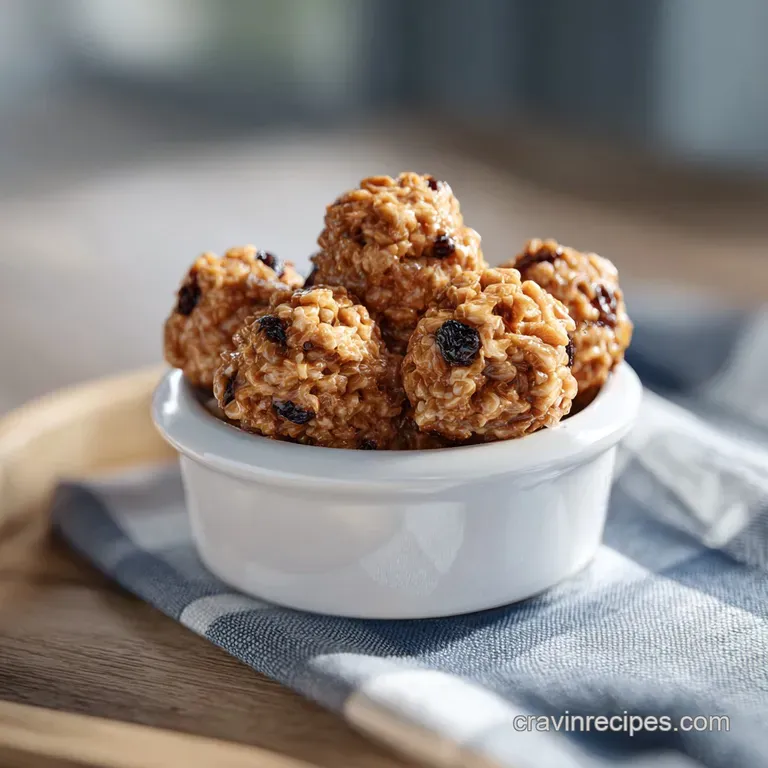
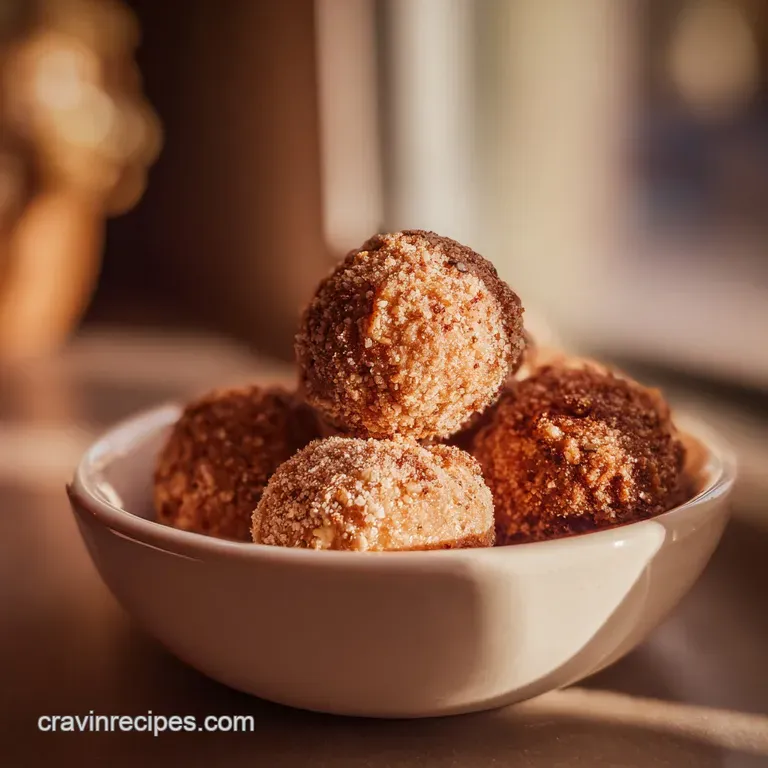
Old Fashioned Peanut Butter Snowballs
- Time:20 minutes active + 1 hour 30 mins chilling = 110 minutes total
- Flavor/Texture Hook: Buttery, salt flecked centers with a crisp sugar dusted finish
- Perfect for: Holiday cookie swaps, edible gifting, or a weekend kitchen project
Everything You Need for Peanut Butter Snowballs
Imagine walking into a kitchen where the air is thick with the scent of roasted peanuts and sweet vanilla. It is a smell that immediately transports me back to my grandmother's house in December, where every flat surface was covered in wax paper and cooling treats.
These Peanut Butter Snowballs were always the star of the show. We would stand around the counter, our fingers sticky with powdered sugar, waiting for the white chocolate to set just enough so we could sneak one before they were packed into decorative tins.
There is something undeniably nostalgic about this recipe. It is not just about the sugar; it is about that specific, satisfying "thump" the dough makes against the bowl when it finally reaches the right density. I remember one year we tried to skip the chilling step because we were in a rush for a school bake sale.
It was a disaster. The balls slumped into sad, beige puddles the moment they hit the warm chocolate. That day taught me that patience is the most important ingredient when you are working with fats like butter and peanut butter.
These little confections are the ultimate crowd pleaser because they balance the richness of the nut butter with a bright, snowy aesthetic. They look like they belong in a professional confectionery shop window, but the process is surprisingly grounded and tactile.
Whether you are making these for a festive party or just because you have a deep craving for something indulgent, you are going to love how the salt cuts through the sweetness. Let's walk through how to get that signature snap and the perfect, fudge like center every single time.
Why This Recipe Actually Works
Getting the texture right in a no bake treat is more about mechanics than it is about heat. We aren't relying on eggs or flour to provide structure, so we have to use other methods to keep everything together.
- Structural Hydration: The graham cracker crumbs act as microscopic sponges that soak up the excess oil from the peanut butter, preventing the dough from becoming greasy or crumbly.
- Fat Stabilization: By creaming the butter and peanut butter first, you create a stable base that allows the powdered sugar to integrate without becoming grainy or sandy on the tongue.
- Thermal Tempering: Chilling the dough for a full hour before dipping causes the fats to crystallize, which means they won't melt the second they touch the warm white chocolate coating.
- Lipid Barrier: A tiny bit of coconut oil in the white chocolate keeps the coating pliable enough to bite through without the entire shell shattering into a million messy pieces.
| Feature | Stovetop Melting | Microwave Melting |
|---|---|---|
| Control | High; constant visual monitoring | Medium; relies on intervals |
| Risk | Steam can seize the chocolate | Overheating can burn the sugar |
| Cleanup | Pot and bowl required | Single microwave safe bowl |
While both methods work, I usually reach for the microwave for these Peanut Butter Snowballs because it keeps the chocolate at a consistent temperature for longer if you work in short, 30 second bursts. If you find your chocolate is cooling too fast, you can check out my Peanut Butter Balls recipe for more tips on maintaining that perfect dipping consistency.
Component Analysis
| Ingredient | Science Role | Pro Secret |
|---|---|---|
| Creamy Peanut Butter | Primary fat and flavor | Use a processed brand like Jif or Skippy for better stability than natural oils |
| Powdered Sugar | Bulk and sweetness | Always sift it to avoid tiny white lumps that ruin the velvety mouthfeel |
| Graham Cracker Crumbs | Binder and texture | Pulse them until they are as fine as sand to ensure the balls stay smooth |
| White Melting Wafers | Protective shell | Use wafers specifically labeled for "melting" as they contain more cocoa butter for a better flow |
Ingredients and Substitutes
- 1 cup creamy peanut butter: Why this? Provides the rich, nutty base and the necessary fats for a fudge like texture.
- Substitute: Smooth almond butter (Note: may require 1/4 cup extra cracker crumbs as almond butter is often oilier).
- 0.25 cup unsalted butter, softened: Why this? Adds a creamy, dairy rich finish and helps the centers firm up when cold.
- Substitute: Salted butter (Note: omit the extra sea salt if you make this swap).
- 2 cups powdered sugar, sifted: Why this? Provides sweetness and helps dry out the dough to make it moldable.
- Substitute: Coconut sugar pulsed in a blender (Note: will change the color to a deep tan and add a caramel flavor).
- 1.5 cups graham cracker crumbs: Why this? Acts as the structural backbone that keeps the balls from slumping.
- Substitute: Digestive biscuits or vanilla wafers crushed into a fine powder.
- 1 tsp vanilla extract: Why this? Rounds out the sweetness and adds an aromatic floral note to the peanut butter.
- Substitute: Almond extract (Note: use only 1/4 tsp as it is much stronger).
- 0.25 tsp fine sea salt: Why this? Essential for balancing the sugar and intensifying the roasted peanut flavor.
- Substitute: Table salt (Note: use slightly less as the grains are finer and denser).
- 12 oz white melting wafers: Why this? Creates a snappy, bright white exterior that looks like a snowball.
- Substitute: high-quality white chocolate chips (Note: add an extra teaspoon of coconut oil to help them melt smoothly).
- 1 tsp coconut oil: Why this? Thins the chocolate for a professional looking, even coating.
- Substitute: Vegetable shortening or flavorless oil.
- 1 tbsp powdered sugar for dusting: Why this? Provides the final "snowy" aesthetic and covers any minor dipping imperfections.
- Substitute: Desiccated coconut for a fuzzy, snowball like texture.
Instructions
- Cream the fats. In a large mixing bowl, use a hand mixer to cream together the softened unsalted butter and creamy peanut butter. Note: Continue mixing until the color lightens to a pale mahogany and the texture is completely aerated.
- Add aromatics. Mix in the vanilla extract and fine sea salt until well combined. Stop when you smell the vanilla bloom against the salt.
- Incorporate solids. Gradually add the sifted powdered sugar and graham cracker crumbs. Note: Do this in three stages to prevent a sugar cloud from covering your kitchen.
- Form the dough. Continue mixing until a dense, moldable dough forms that pulls away from the sides of the bowl. It should feel like soft playdough.
- Portion and roll. Using a 1 tablespoon cookie scoop, portion the dough and roll between your palms into 1 inch spheres. Place each one on a parchment lined baking sheet.
- The first chill. Chill the peanut butter balls in the refrigerator for 1 hour. Note: This is non negotiable as it allows the graham cracker crumbs to hydrate and the fats to firm up for easier dipping.
- Melt the coating. In a microwave safe bowl, melt the white chocolate wafers and coconut oil in 30 second intervals. Stir between each burst until it flows like warm honey.
- Enrobe the centers. Using a dipping fork, submerge each chilled ball into the white chocolate, tap the fork against the side of the bowl to remove excess, and return to the parchment.
- Add the snow. Immediately dust with the extra tablespoon of powdered sugar while the coating is still wet. Watch for the sugar to stick and create a matte, wintry finish.
- Final set. Chill for an additional 30 minutes. The shell is ready when it feels cold and makes a distinct snap when pressed.
Troubleshooting
Why Your Peanut Butter Snowballs Are Crumbly
If the dough is falling apart as you try to roll it, you likely have a bit too much dry matter. This can happen if the graham cracker crumbs were measured too heavily or if your peanut butter is on the drier side (common with the bottom of the jar).
To fix this, add a teaspoon of melted butter or a tiny bit more peanut butter and work it in with your hands. The warmth from your palms will help the fats bind with the sugar. You want the dough to hold a thumbprint without cracking at the edges.
Dealing With Sticky Dough
On the flip side, if the dough is sticking to your hands like glue, it needs more structure. This often happens in humid kitchens. Add an extra tablespoon of graham cracker crumbs at a time until the dough feels matte and manageable. If you find the flavor is getting too sweet, you might enjoy my Classic peanut butter cookies which use a baked method for a different texture profile.
| Problem | Root Cause | Solution |
|---|---|---|
| Chocolate is clumpy | Moisture got into the bowl | Add a teaspoon of coconut oil and stir vigorously; avoid all water contact |
| Centers are melting | Initial chill was too short | Return the balls to the freezer for 10 minutes before continuing to dip |
| Coating is cracking | Temperature shock | Let the chilled balls sit at room temperature for 5 minutes before dipping into hot chocolate |
Common Mistakes Checklist
- ✓ Always sift your powdered sugar to ensure a silky, fudge like interior.
- ✓ Use a dipping fork or a plastic fork with the middle tines removed to minimize "chocolate feet" at the base.
- ✓ Don't skip the coconut oil in the coating; it prevents the white chocolate from being too brittle to eat comfortably.
- ✓ Make sure your butter is truly "room temperature" (pliable but not melted) for the best emulsion.
- ✓ Tap the dipping fork firmly against the bowl to get the thinnest, most professional coating possible.
Scaling the Recipe
Downsizing for a Small Batch
If you only need a dozen treats, you can easily halve this recipe. For the 0.25 cup of butter, use exactly 2 tablespoons. Since there are no eggs involved, the math is straightforward. Use a smaller bowl for melting the chocolate so you have enough depth to submerge the balls completely.
Doubling for a Big Party
When doubling to 48 pieces, keep the salt and vanilla at 1.5x the original amount rather than a full 2x to keep the flavors balanced. You will want to work in batches during the dipping phase. Keep half of the peanut butter balls in the fridge while you dip the first half so they stay firm.
| Servings | Peanut Butter | Graham Crumbs | Chocolate | Total Time |
|---|---|---|---|---|
| 12 pieces | 0.5 cup | 0.75 cup | 6 oz | 90 minutes |
| 24 pieces | 1 cup | 1.5 cups | 12 oz | 110 minutes |
| 48 pieces | 2 cups | 3 cups | 24 oz | 130 minutes |
Kitchen Myths
One big misconception is that you need "natural" peanut butter for a better flavor. In reality, the separated oils in natural peanut butter can make these snowballs greasy and unstable.
The emulsifiers in standard creamy peanut butter are actually your best friend here, providing a consistent texture that won't separate as the candy sits at room temperature.
Another myth is that you can substitute granulated sugar for powdered sugar. I have seen people try this, and the result is a gritty, crunchy center that feels like eating sand. Powdered sugar contains a small amount of cornstarch which actually helps the dough stay firm and gives it that melt in-your mouth quality.
Storage and Zero Waste
These Peanut Butter Snowballs are quite hardy. You can keep them in an airtight container in the refrigerator for up to 2 weeks. They are actually best served slightly chilled, as the white chocolate shell stays crisp. If you want to keep them longer, they freeze beautifully for up to 3 months.
Just make sure to layer them with parchment paper so they don't stick together.
For a zero waste approach, if you have leftover graham cracker crumbs, toss them with a little melted butter and sugar to create a quick topping for yogurt or oatmeal. Any leftover white chocolate can be spread onto parchment paper, topped with dried cranberries or nuts, and chilled to make a quick "scrap bark." Even the crumbs at the bottom of the powdered sugar bag can be saved for your next batch of frosting or dusting over a cake.

Recipe FAQs
How to ensure the dough reaches the right consistency?
Cream the butter and peanut butter until they reach a pale mahogany color. This aeration stage is critical, and if you enjoyed mastering this technique, you can apply the same fat-emulsification logic to our fudgy dark chocolate cookies.
Can I skip the chilling time in the refrigerator?
No, the chilling stages are essential for structure. The initial hour allows the graham cracker crumbs to hydrate and the fats to firm up, while the final 30 minutes ensure the white chocolate shell sets properly.
Is it true I can use a stovetop instead of the microwave for melting chocolate?
No, this is a common misconception. While a double boiler is a classic method, the microwave at 30-second intervals is specifically recommended here to prevent the white melting wafers from scorching or seizing.
How to fix the dough if it feels too dry to roll?
Add a small amount of extra softened butter to the mixture. Since the dough relies on the ratio of fats to graham cracker crumbs, a tiny increase in butter will help the mixture bind into cohesive 1 inch spheres.
How to get a smooth, professional finish on the chocolate coating?
Tap your dipping fork against the rim of the bowl after submerging the ball. This action removes excess white chocolate and coconut oil, preventing thick puddles from forming at the base of your snowballs.
How to store the snowballs for the best texture?
Keep them in an airtight container in the refrigerator. They maintain their best quality for up to 2 weeks when chilled, which keeps the white chocolate shell crisp and prevents the peanut butter center from becoming too soft.
Can I freeze these if I have leftovers?
Yes, they freeze beautifully for up to 3 months. Ensure you layer them with parchment paper inside your container so the individual snowballs do not stick together while stored in the freezer.
Old Fashioned Peanut Butter Snowballs
Ingredients:
Instructions:
Nutrition Facts:
| Calories | 219 kcal |
|---|---|
| Protein | 3.7 g |
| Fat | 12.5 g |
| Carbs | 24.7 g |
| Fiber | 0.8 g |
| Sugar | 19.2 g |
| Sodium | 98 mg |
