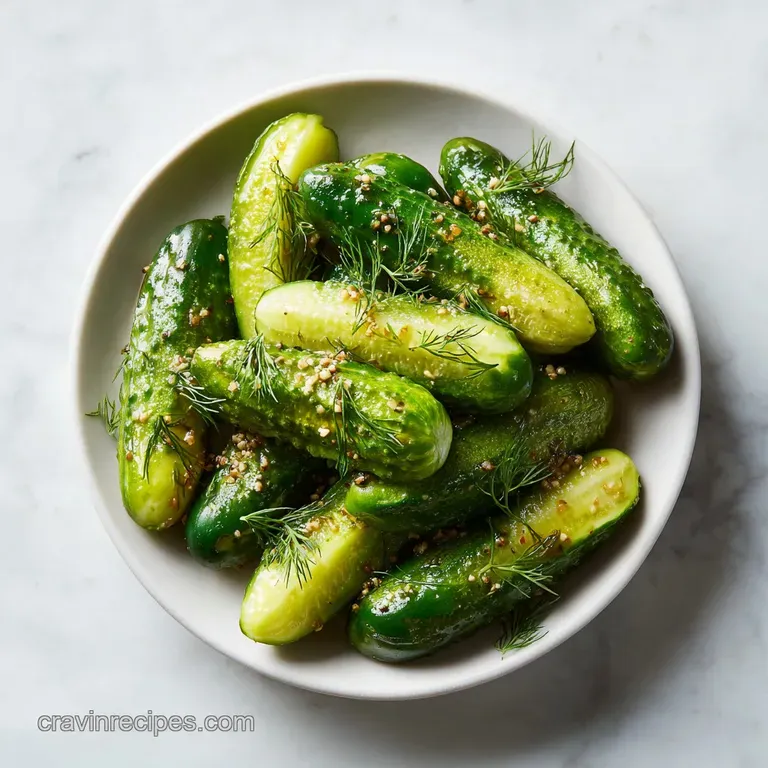
Refrigerator Dill Pickles: Ultra Crunchy
- Time: Active 20 minutes, Passive 24 hours, Total 25 minutes (excluding chill time)
- Flavor/Texture Hook: Shatter crisp texture with a bold, vinegary zing
- Perfect for: Late night snack cravings, BBQ sides, and beginner picklers
- Crunchiest Homemade Refrigerator Dill Pickles Recipe Guide
- Cold Brine Science for Ultimate Snap
- Essential Components for Bold Pickle Flavor
- Bold Flavors and Fresh Elements
- Simple Kitchen Tools for Jar Packing
- Perfect Brine and Jar Packing Steps
- Fixing Soft or Cloudy Brine Issues
- Zesty Swaps and Low Carb Options
- Pickle Myths Debunked
- Storing Jars for Long Lasting Snap
- Recipe FAQs
- 📝 Recipe Card
Crunchiest Homemade Refrigerator Dill Pickles Recipe Guide
You know that specific, loud snap when you bite into a premium deli pickle? The kind that makes everyone else at the table look up? That’s exactly what we’re chasing here.
For years, I settled for those soggy, neon yellow chips from the grocery store because I thought real pickling required a chemistry degree and a basement full of bubbling jars. I was wrong. These Refrigerator Dill Pickles are a total snack victory that you can prep in the time it takes to watch a sitcom.
The first time I made these, I was skeptical about the "no boil" method. I figured you had to cook the life out of the cucumbers to get the flavor in. Instead, I ended up with a jar of what I call "garlic lightning." The brine is sharp, the dill is fresh, and because we don't boil the cucumbers, they stay so firm they practically vibrate.
If you've been craving a bold, crunchy snack to pair with your latest air fryer creation, this is the one. We’re skipping the long term shelf stability of canning for the immediate gratification of a cold from the fridge, high voltage pickle.
Forget everything you know about old school canning. We are making a bold, quick win snack that satisfies those salty cravings without the fuss of a water bath. Whether you're layering these onto a burger or eating them straight from the jar at midnight (no judgment, I do it too), the texture is the star of the show.
Right then, let’s get into why this works and how you can avoid the soggy pickle trap.
Cold Brine Science for Ultimate Snap
Most people fail at pickles because they treat them like soup. They boil the brine and pour it over the cucumbers while it's still steaming. That heat effectively cooks the cucumber, breaking down the cell walls and leaving you with a limp, sad spear.
This recipe uses a specific "Cold Start" mechanism to protect that texture.
- Enzyme Deactivation: The blossom end of a cucumber contains an enzyme called pectinase, which is responsible for softening fruit. By trimming just 1/8th of an inch off that specific end, we physically remove the "softness trigger" before the pickling even begins.
- Cell Wall Integrity: By only heating a fraction of the water to dissolve the salt and then immediately cutting it with cold water and vinegar, the brine stays cool. This prevents the heat from melting the pectin that keeps the cucumber skin and flesh firm.
- Osmotic Balance: Distilled white vinegar provides the 5% acidity needed to penetrate the cucumber flesh quickly. The salt then draws out just enough moisture to tighten the structure without making the vegetable shrivel.
| Spear Thickness | Fridge Time | Crunch Level | Best For |
|---|---|---|---|
| 1/4 inch spears | 24 hours | High Snap | Burgers & Wraps |
| 1/2 inch spears | 48 hours | Dense Crunch | Straight Snacking |
| Whole Kirby (small) | 4 days | Maximum Pop | Deli Side Style |
Packing the jars tightly is another huge factor in the final texture. When the spears are wedged in vertically, they can't float or move around. This ensures every single square inch of the cucumber is in contact with the brine, leading to an even cure.
If they float, the tops get soft and the bottoms get salty we want uniform perfection in every bite.
Essential Components for Bold Pickle Flavor
The secret to a "strong" pickle isn't just the vinegar; it's the specific mineral content of your ingredients. Using the wrong salt or water can actually ruin the look and taste of your jar.
We use Kosher salt because it lacks the anti caking agents found in table salt, which can turn your brine cloudy and give the pickles a weirdly metallic aftertaste.
| Component | Science Role | Pro Secret |
|---|---|---|
| Kirby Cucumbers | Low moisture, thick skin | Look for "Pickling" or "Kirby" labels only |
| Distilled Water | Zero mineral interference | Prevents hard water minerals from darkening pickles |
| Fresh Dill | Essential aromatic oils | Use the yellow flowery bits for the most intense flavor |
| Garlic Cloves | Sulfuric flavor infusion | Smash them flat to expose the most surface area |
Using distilled water might seem like an extra step, but it's a budget friendly way to guarantee a clear brine. Tap water often contains chlorine or minerals that react with the vinegar and spices, sometimes turning your garlic cloves a funky blue or green color.
It’s still safe to eat, but it definitely kills the "gourmet" vibe we're going for.
Bold Flavors and Fresh Elements
Let’s talk about your shopping list. This is a budget smart recipe, so we’re using ingredients that pack a punch without costing a fortune. If you can’t find a fresh bunch of dill, don't worry there are ways to adapt. But if you want that classic deli flavor, fresh is king.
- 1.5 lb Kirby cucumbers: Sliced into spears. Why this? They have thinner skins and fewer seeds, making them the crunchiest option.
- 6 cloves fresh garlic: Smashed and peeled. Why this? Smashed garlic releases all its oils into the brine immediately.
- 1 small white onion: Thinly sliced. Why this? Adds a savory depth that balances the sharp vinegar.
- 1.5 cups distilled water: Divided into 0.5 cup and 1 cup portions.
- 1 cup distilled white vinegar (5% acidity): The backbone of the brine.
- 1.5 tbsp Kosher salt: Non iodized is non negotiable here.
- 1 bunch fresh dill: Fronds and stems included.
- 2 tsp whole black peppercorns: Provides a slow, earthy heat.
- 1 tsp yellow mustard seeds: Adds that signature "pickle" tang.
- 2 dried bay leaves: Contains tannins that help keep the pickles firm.
- 0.5 tsp red pepper flakes: Just enough for a bold kick without being "spicy."
| Original Ingredient | Substitute | Why It Works |
|---|---|---|
| Fresh Dill (1 bunch) | Dried Dill Seed (2 tbsp) | Concentrated flavor but lacks the "fresh" green aroma |
| Distilled White Vinegar | Apple Cider Vinegar | Adds a fruity, sweeter profile; Note: Brine will be amber |
| Kirby Cucumbers | Persian Cucumbers | Same crispness but smaller. No need to peel. |
If you find yourself making these often, I highly recommend checking out my Banana Chocolate Chip Loaf. It might seem like a weird jump, but the sweetness of the bread is the perfect foil to the salty, acidic bite of a cold pickle. It's the ultimate snack board combo.
Simple Kitchen Tools for Jar Packing
You don't need a massive canning kit for this. Since we aren't boiling the jars for long term storage, we can keep the equipment minimal and practical. The goal is efficiency and cleanliness.
- Two Quart Sized Glass Jars: Wide mouth jars are significantly easier to pack with spears than narrow neck ones.
- Small Saucepan: You only need this to dissolve the salt; no need for a massive stockpot.
- Sharp Chef's Knife: Essential for clean, uniform slices that look professional.
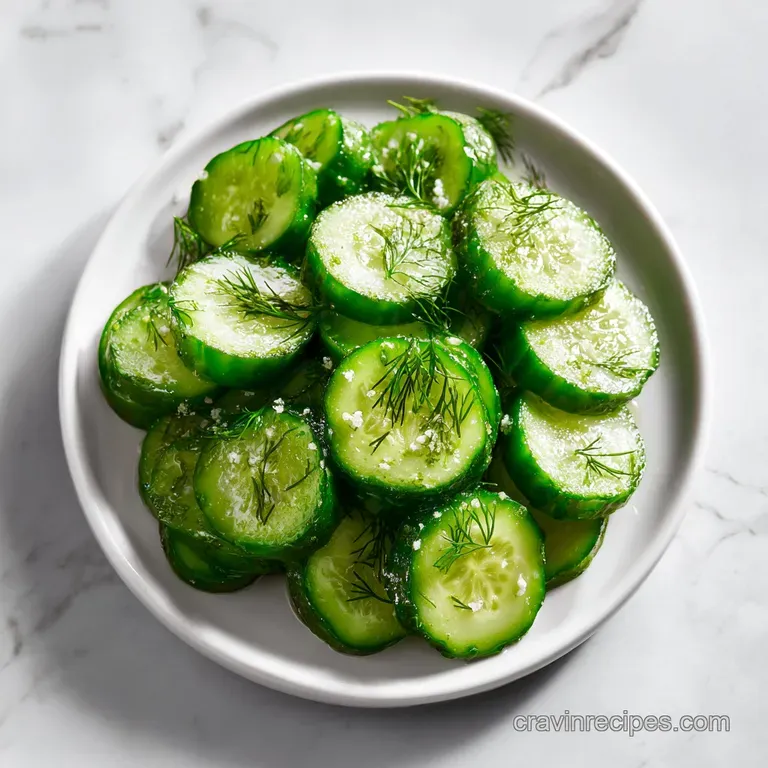
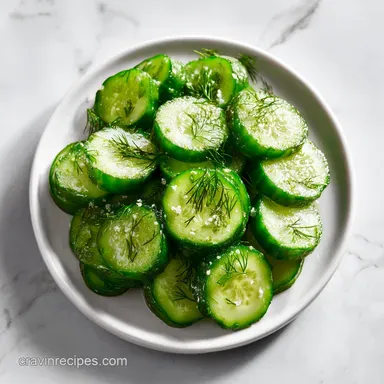
- Mandoline Slicer (Optional): If you prefer round chips over spears, this ensures every slice is the exact same thickness.
- Measuring Cups and Spoons: Accuracy matters when balancing vinegar and salt.
If you don't have glass jars, you can use high-quality, BPA free plastic containers, but glass is better at keeping the brine cold and won't absorb the strong garlic and onion odors. Trust me, you don't want your next batch of fruit salad smelling like a garlic clove.
Perfect Brine and Jar Packing Steps
- Wash 1.5 lb Kirby cucumbers in cold water. Trim 1/8th inch off the blossom ends to remove softening enzymes. Slice into spears or rounds. Note: Trimming both ends is fine if you can't tell which is which!
- Divide 6 cloves smashed garlic, 2 tsp peppercorns, 1 tsp mustard seeds, 2 bay leaves, 0.5 tsp red pepper flakes, and 1 bunch fresh dill evenly between two clean quart sized glass jars.
- Tightly pack the cucumber spears and thinly sliced white onion into the jars vertically, leaving 1/2 inch of headspace at the top. until they are wedged in and don't move when the jar is tilted.
- In a small saucepan, combine 0.5 cup of distilled water with 1.5 tbsp Kosher salt.
- Heat over medium just until the salt dissolves. Note: Do not let the water reach a rolling boil; we just need it warm enough to melt the salt.
- Remove from heat and stir in the remaining 1 cup of cold distilled water and 1 cup white vinegar to create a cold start brine.
- Pour the brine over the cucumbers until fully submerged.
- Seal the lids tightly.
- Refrigerate for at least 24 hours before consuming. until the spears turn from bright green to an olive pickled hue.
Fixing Soft or Cloudy Brine Issues
Even with a simple recipe, things can go sideways. But don't toss the jar just yet most "disasters" are easy to fix or prevent for the next round. The most common heartbreak is a soft pickle. If your pickles aren't crunchy, it's almost always because of heat or the cucumbers being too old.
Why Your Brine Is Cloudy
Cloudy brine can be scary, but it's usually just a cosmetic issue. If you used table salt instead of Kosher salt, the anti caking agents will settle at the bottom like a fine white powder. Another culprit is "hard" water. The minerals in tap water react with the acid in the vinegar, creating a murky look.
As long as the pickles smell fresh and vinegary, they are safe, but next time, stick to distilled water.
Soft or Hollow Pickles
If your pickles are soft or have "hollow" centers, the cucumbers were likely past their prime before they hit the jar. Kirby cucumbers lose moisture fast. If they feel slightly flexible when you buy them, they will be mushy when you pickle them. Always look for "rock hard" cucumbers.
If you find your pickles getting soft after a week in the fridge, try adding a grape leaf or a piece of oak leaf to the jar; the tannins act as a natural firming agent.
| Problem | Root Cause | Solution |
|---|---|---|
| Soft Texture | Heat exposure or old cukes | Use "Cold Start" brine and fresh Kirby cukes |
| Cloudy Liquid | Table salt or hard water | Use Kosher salt and distilled water |
| Blue/Green Garlic | Mineral reaction | Use distilled water; it's still safe to eat |
Common Mistakes Checklist
- ✓ Never skip trimming the blossom end; those enzymes are crunch killers.
- ✓ Don't use "English" cucumbers unless you're making quick chips for immediate eating; they get soggy in spears.
- ✓ Ensure the cucumbers are fully submerged; any part sticking out of the brine will soften and spoil.
- ✓ Wait the full 24 hours. The flavor needs time to travel to the center of the spear.
Zesty Swaps and Low Carb Options
Scaling this recipe is incredibly easy because the brine ratio is straightforward. If you have a garden overflow and need to do 4 or 6 jars, you can easily double or triple the ingredients.
- Scaling DOWN (1 Jar): Use 0.75 lb cucumbers, half the spices, and 3/4 cup water total. Beat one clove of garlic extra hard to make up for the smaller volume.
- Scaling UP (4 Jars): Use 3 lb cucumbers. Scale salt and spices to 1.5x only too much salt can become overpowering in large batches. Use about 90% of the calculated liquid to ensure you don't have too much leftover brine.
- sugar-free & Keto Friendly: This recipe is already naturally keto! Unlike bread and butter pickles, there’s no sugar here. If you want a slightly sweeter "Claussen style" without the carbs, add 2-3 drops of liquid stevia to the brine.
For those who want a truly bold snack experience, these pickles are a great side to something savory. I love serving them alongside Chocolate Covered Pretzels. The salt on-salt action combined with the vinegar and chocolate is a snack lover's dream.
| Premium Add in | Budget Swap | Flavor Impact | Savings |
|---|---|---|---|
| Fresh Dill Fronds | Dried Dill Seed | Less "grassy", more "earthy" | Save $2-3 |
| Peppercorn Medley | Black Peppercorns | Slightly less complex heat | Save $1-2 |
| Kirby Cucumbers | Persian Cucumbers | Same crunch, smoother skin | Save $0.50 |
Pickle Myths Debunked
Many people think you have to boil jars to make them safe. While that's true for "shelf stable" pickles that sit in a pantry for a year, it’s not necessary for refrigerator pickles. The high acidity of the vinegar and the cold temperature of the fridge create a hostile environment for bad bacteria.
Another myth is that "more vinegar equals more flavor." If you go over a 1:1 ratio of vinegar to water, the acid can actually become so strong that it "chemically cooks" the cucumber, leading back to that soft texture we’re trying to avoid. Balance is everything.
Finally, searing or heating the cucumbers does NOT help them absorb brine faster; it only ruins the snap.
Storing Jars for Long Lasting Snap
Storage: Keep these in the back of your refrigerator where it’s coldest. They will stay perfectly crisp for about 4 to 6 weeks. After that, they are still safe to eat for up to 3 months, but they will gradually lose that signature "shatter" crunch and become more saturated with brine.
- Zero Waste
- Don't you dare pour that leftover brine down the drain! It is liquid gold.
- Brine Chicken
- Use it as a marinade for chicken breasts or thighs before grilling. It tenderizes the meat and adds incredible flavor (this is the secret to certain famous fast food chicken sandwiches).
- Pickle Onions
- Toss some sliced red onions into the leftover brine for a quick 2 hour pickled onion topping for tacos.
- Bloody Marys
- Use a splash of the brine in your next brunch cocktail for a bold, savory kick.
- Potato Salad
- Use a tablespoon or two of the brine in place of plain vinegar in your potato or macaroni salad dressing.
Honestly, once you start making these, you'll never go back to the store-bought aisle. It’s too easy, too cheap, and far too delicious to ignore. Now go get your crunch on!

Recipe FAQs
Is it true I must boil the cucumbers to make them safe?
No, this is a common misconception. These are refrigerator pickles, meaning they rely on cold storage rather than a hot water bath, keeping them naturally crisp.
Why is it necessary to trim the ends off the cucumbers?
Trimming the blossom ends removes enzymes that cause softening. This simple technique ensures your pickles maintain a firm, satisfying snap.
How to ensure the pickles stay crunchy for weeks?
Store your jars in the back of the refrigerator where it is coldest. If you enjoyed learning how to maintain texture through proper storage here, you can apply similar logic to keep your bread fresh for longer.
Can I eat these pickles as soon as I pour the brine?
No, you must wait at least 24 hours. This resting period allows the salt, vinegar, and aromatics to fully penetrate the cucumbers for the best flavor.
How to reuse the leftover pickle brine?
Use the brine as a savory marinade for chicken. The acidity helps tenderize meat before cooking, making it an excellent base for a quick meal.
Is distilled water better than tap water for this recipe?
Yes, distilled water is recommended to prevent minerals in tap water from clouding the brine. Using pure water ensures the vinegar and spices provide the cleanest possible flavor profile.
How to know if the pickles have gone bad?
Check for signs of mold or a fermented smell beyond the standard vinegar scent. While they remain safe for up to 3 months, they will gradually lose their characteristic crunch as time passes.
Refrigerator Dill Pickles
Ingredients:
Instructions:
Nutrition Facts:
| Calories | 10 kcal |
|---|---|
| Protein | 0.3 g |
| Fat | 0.1 g |
| Carbs | 2.1 g |
| Fiber | 0.4 g |
| Sugar | 0.9 g |
| Sodium | 290 mg |
