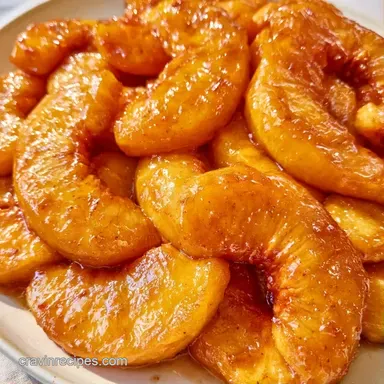
Canning Peach Pie Filling with Clear Jel
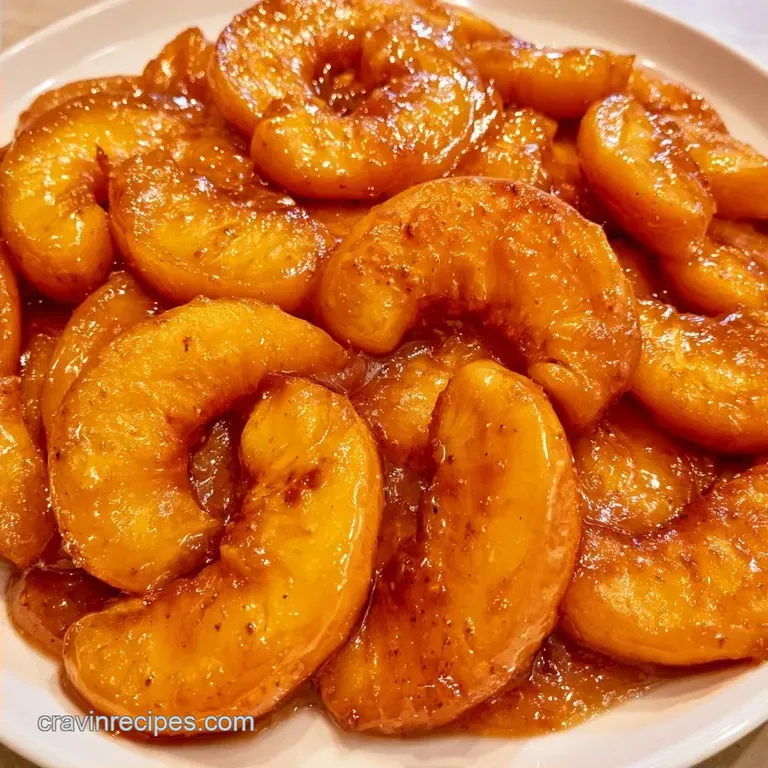
- Time: 15 min active + 60 min cook + 24 hr setting
- Flavor/Texture Hook: Thick, glossy, and intensely sweet
- Perfect for: Summer harvesting and winter baking
The smell of bubbling sugar and warm cinnamon fills the whole house when you do this. Forget the idea that you need an expensive commercial kitchen or some fancy chemistry degree to get that thick, glossy filling you see in professional bakeries. I used to think any starch would work, but that was a huge mistake.
My first attempt used a standard cornstarch slurry and fresh lemons. It looked fine at first, but after processing, the filling turned a cloudy, greyish color and leaked all over my oven the first time I baked it. It was a soggy mess.
Now, I stick to a method that actually holds up. This version of Canning Peach Pie Filling gives you a stable, sweet preserve that stays vibrant in the jar. You get a rich, indulgent result that makes baking a pie in January feel like a summer afternoon.
Quick Specs for Peach Filling
When you're working with 17.5 lbs of fruit, you need a plan. This recipe yields 10 pints, which is plenty for a few parties or gifts. The total time includes a mandatory 24 hour resting period. Trust me, don't open the jars early, or you'll think it's too thin.
The prep takes about 15 minutes if you've got your station ready, but the actual cooking and processing take 60 minutes. The most important part is the 24 hour set time. The gel needs that window to fully bond and create that thick, scoopable texture.
The One Thing That Changes Everything
Modified Cornstarch: Clear Jel doesn't break down under high heat or during the canning process, which keeps the filling transparent. Bottled Lemon Juice: This provides a consistent pH level, which is non negotiable for safe water bath canning.
The difference between a runny pie and a stable one comes down to the starch activation. You have to hit a full boil for a minute or two. If you pull it off the heat too soon, the starch molecules won't expand, and you'll end up with peach soup.
| Method | Texture | Clarity | Best For |
|---|---|---|---|
| Cornstarch | Runny/Cloudy | Opaque | Immediate use |
| Clear Jel | Thick/Stable | Clear | Canning |
What Each Ingredient Does
| Component | Purpose | Substitute Notes |
|---|---|---|
| Fresh Peaches | Main body and flavor | Frozen peaches work but may be softer |
| Granulated Sugar | Sweetness and preservation | Honey changes flavor and affects set |
| Bottled Lemon Juice | Acidity for safety | Fresh juice varies too much in pH |
| Clear Jel | Thickening agent | Flour makes it cloudy and tastes raw |
Essential Tools for Canning
You'll need a large, non reactive pot. Stainless steel is best because the lemon juice can react with aluminum or copper, giving the fruit a metallic tang. I also suggest a plastic bubble remover or a long thin knife to get the air out of the jars.
Don't forget your water bath canner and a sturdy rack. If you're new to the process, I highly recommend checking the National Center for Home Food Preservation to make sure your equipment is sterilized properly. A few stray bubbles in the jar can lead to seal failure.
From Prep to Plate
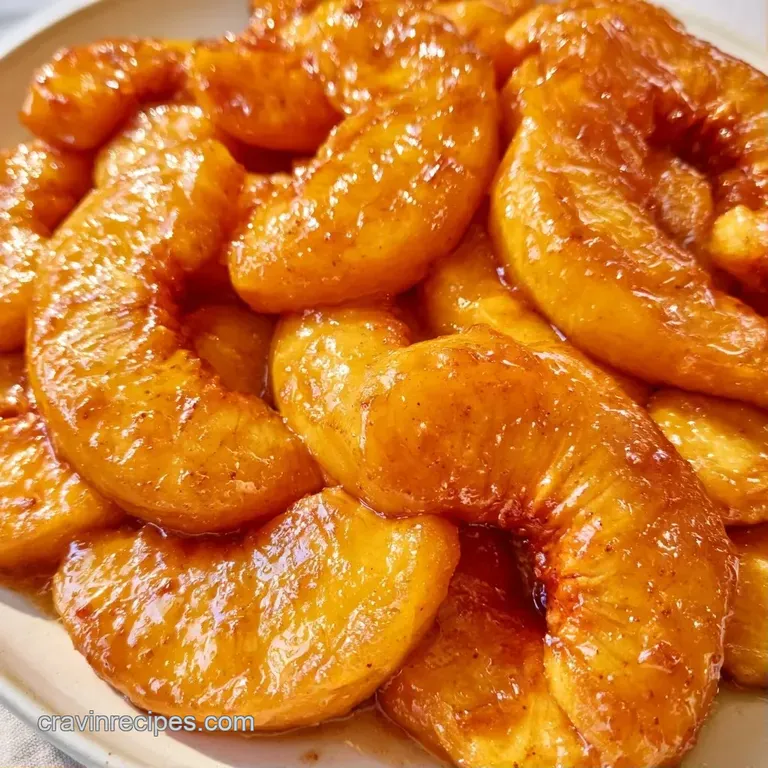
Phase 1: Preparing the Fruit
- Boil a large pot of water. Drop sliced peaches in for 30-60 seconds until the skins slip off, then plunge them into an ice bath.
- Slice the peeled peaches into uniform 1/4 inch wedges. Note: uniform sizes ensure they cook at the same rate.
- Combine peaches, granulated sugar, and bottled lemon juice in your non reactive pot. Toss gently to coat.
Phase 2: Creating the Thickening Slurry
- Whisk the Clear Jel with cold water or peach juice in a separate bowl until completely smooth.
- Slowly stir this slurry into the peach mixture.
- Mix in the ground cinnamon, almond extract, and vanilla extract.
Phase 3: The Canning Process
- Heat the mixture over medium heat, stirring constantly. Bring to a gentle boil for 1-2 minutes until the filling looks glossy and thick.
- Ladle hot filling into sterilized jars, leaving 1/2 inch of headspace.
- Run a bubble remover around the inside of the jar to release trapped air.
- Wipe rims, apply lids, and screw on bands until fingertip tight. Process in a boiling water bath for 10 minutes.
- Remove jars and let them sit undisturbed for 24 hours.
Troubleshooting Guide
If your filling looks a bit thin right after you ladle it into the jar, don't panic. It's a gel, not a jam, so it needs time to cool and set. The most common issue is not reaching that full boil, which means the thickener never actually "turned on."
Another thing to watch for is the fruit texture. If the peaches are too mushy, you probably left them in the boiling water too long during the peeling phase. A quick 30 second dip is all they need.
Fixing Runny Filling
The filling didn't reach a boil or the starch was old. You can't fix this once it's canned, but you can simmer the filling in a pan before adding it to a pie.
Preventing Cloudy Color
This happens when using regular cornstarch. Use a modified starch for that professional, clear look.
Managing Fruit Oxidation
If your peaches turn brown before they hit the pot, they weren't tossed in lemon juice quickly enough.
| Problem | Fix |
|---|---|
| Runny Texture | Ensure a 2 minute rolling boil |
| Cloudy Filling | Use Clear Jel instead of cornstarch |
| Brown Peaches | Toss with lemon juice immediately |
Keeping It Fresh
Keep these jars in a cool, dark spot to maintain freshness for up to a year. After opening, refrigerate the jar and consume within 2 weeks. I typically mark the date on the lid using a permanent marker so I can keep track of which ones to use first.
Instead of discarding the peach skins, you can simmer them with a little sugar and water to create a light peach syrup for pancakes. Any leftover filling that didn't fit in a jar also makes a fantastic topping for vanilla ice cream.
Variations and Substitutions
For those who don't have fresh fruit on hand, you can use a Frozen Peaches for 12 recipe as a base. Just be sure to thaw them slightly and drain some of the excess liquid so the filling isn't too watery.
- - For an Autumnal Flavor
- Increase the cinnamon to 2 tsp and add a pinch of ground cloves.
- - For a Tarter Profile
- Add an extra 1/4 cup of lemon juice.
- - For Using Frozen Peaches
- Reduce the added water by 1 cup, as frozen fruit releases more moisture.
| Original Ingredient | Substitute | Why It Works |
|---|---|---|
| Cold Water | Filtered Peach Juice | Adds deeper fruit flavor. Note: May darken the color slightly |
| Almond Extract | Peach Extract | Enhances the natural fruitiness |
| Cinnamon | Nutmeg | Gives a warmer, spiced tone |
Pairing Ideas
This filling is built for a shattering, buttery crust. I love it in a classic double crust pie, but it also works in a tart. If you're feeling adventurous, use it as a layer in a cake or a filling for thumbprint cookies.
If you've already used up your peaches, you can apply a similar canning method to a Classic Apple Pie Recipe for a different winter treat. Just remember that apples require a slightly different cook time to soften.
For a more indulgent experience, serve a warm slice of pie with a scoop of vanilla bean ice cream. The cold creaminess cuts through the intense sweetness of the peaches.
For the Perfect Set:
- For a firmer gel: Add an extra 2 tbsp of Clear Jel to the slurry.
- For a softer, more jam like feel: Reduce the Clear Jel by 3 tbsp.
- For an intense aroma: Stir in the extracts at the very end of the boil.
Right then, you're all set to start your Canning Peach Pie Filling project. It's a lot of peeling and slicing, but when you open a jar in December and taste that summer sunshine, it's totally worth it. Just remember that 24 hour wait don't cheat the set time!
Recipe FAQs
Can peach pie filling be safely processed in a water bath canner?
Yes, you can use a water bath canner for this recipe. Process the jars in boiling water for 10 minutes to ensure they are sealed.
Is peach pie filling just canned peaches with more sugar?
That's a myth. Pie filling contains specific thickeners like Clear Jel and bottled lemon juice to create a gel texture rather than a syrup.
How do you peel peaches quickly for this recipe?
Drop sliced peaches into boiling water for 30 to 60 seconds. Plunge them immediately into an ice bath to slip the skins off easily.
Why does the filling look thin right after bottling?
It needs time to cool and set into a thick gel. Let your jars sit undisturbed for 24 hours before checking the consistency.
Is it true that Clear Jel doesn't need to be boiled?
This one's false: You must bring the mixture to a gentle boil for 1 to 2 minutes to activate the thickener. This step is what makes the filling glossy and thick.
What savory dishes pair well with peach pie?
A rich, savory meal balances the sweetness of the peaches perfectly. Try serving this dessert after a dinner of creamy chicken poblano.
Canning Peach Pie Filling